19 Ways to Make Your Wood Cutting Board Last a Lifetime

A good wood cutting board isn’t a one-and-done purchase. It’s closer to a cast iron pan, something that tends to get better with age when it’s treated right.
Boards rarely fail from bad luck or bad wood. They fail from small habits repeated a few hundred times, until one day there’s a crack down the middle and the board is headed for the trash years too early.
This is the full care list in one place: cleaning, oiling, storage, handling, and a couple of knife habits most people never connect to the board at all.
Some of these matter far more than others, and we’ll say which. 19 habits, counting down to the one that does more than the rest of the list combined.
19. Wipe Up Spills Right Away
Tomato juice pooling at the edge of the board while you finish dicing seems harmless. So does the vinaigrette splash you’ll get to in a minute.
Acidic liquids left sitting can dull the finish, and repeated puddles let moisture creep into the grain at the board’s low spots. A damp cloth within arm’s reach while you prep handles it with no extra effort.
This is a minor habit. A board won’t crack over one tomato, but it’s a free one to pick up.
18. Use the Right Oil, Not Whatever’s in the Pantry
Olive and vegetable oil are the most common wrong answers, partly because they’re already sitting next to the stove.
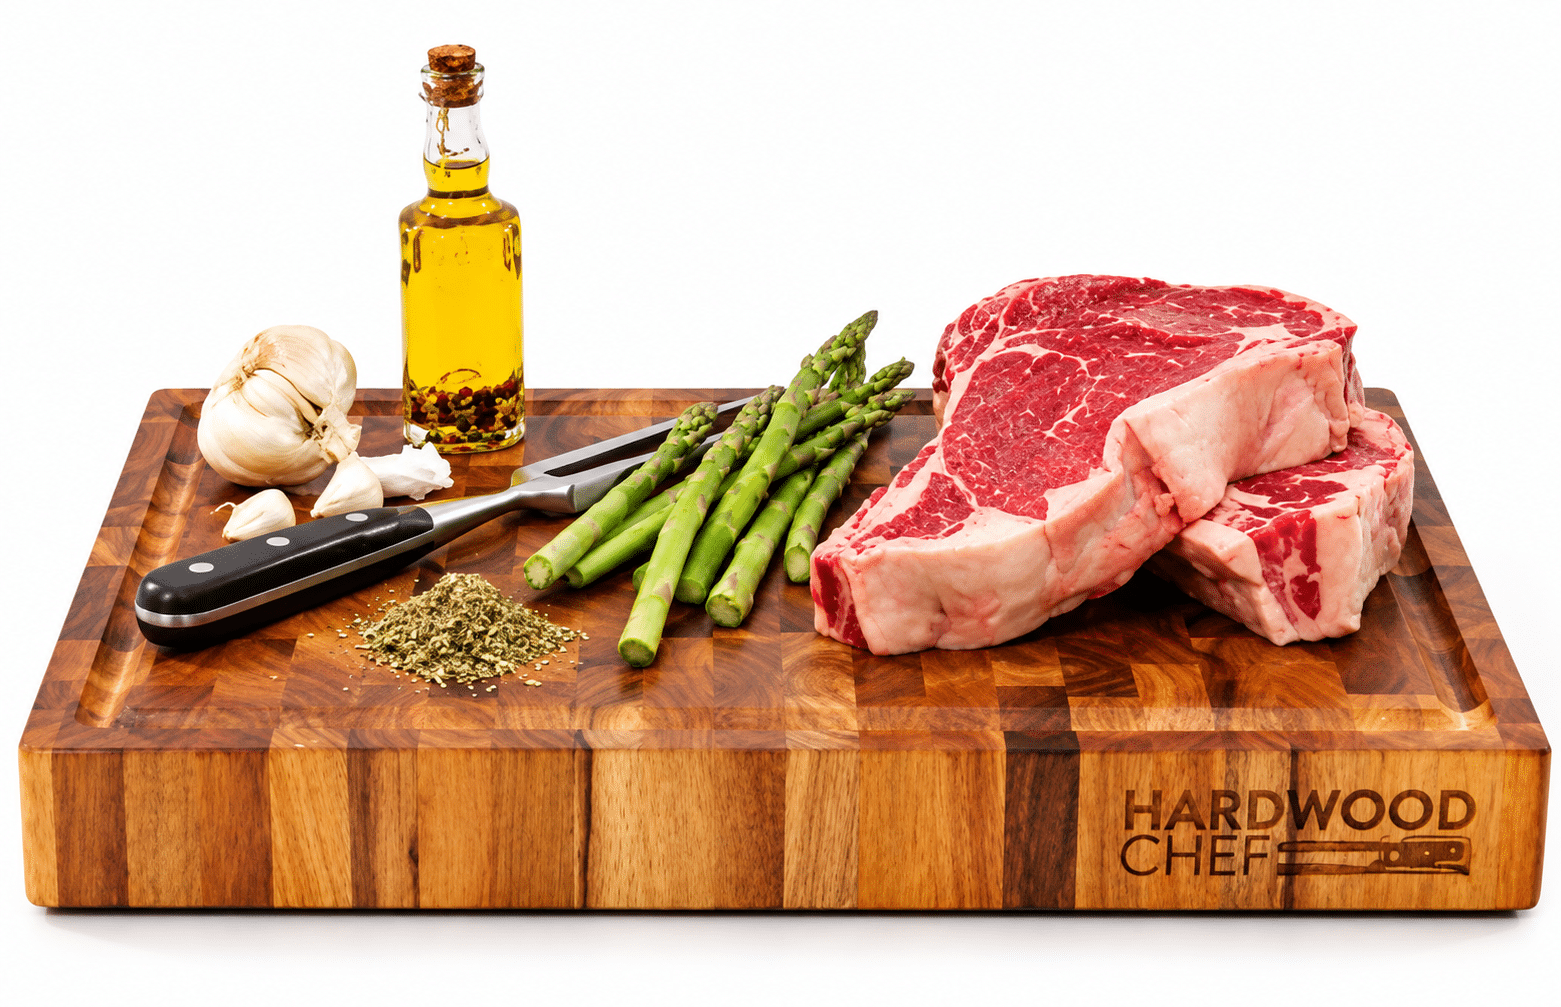
On end grain, your knife slips between the wood fibers instead of slicing across them, so it's easier on blades and the surface wears more slowly. Ours is 1¾ inches of solid acacia with a juice groove and finger grips, preconditioned with mineral oil and ready to use. See the details.
See the board, now $119Regularly $179 · Arrives gift-wrapped in butcher paperMost cooking oils can go rancid as they age, and a board treated with them may pick up a stale, sour smell within a few weeks. Food-grade mineral oil, or a board cream that blends mineral oil with beeswax, generally stays neutral.
Walnut and other nut oils come up too. Some woodworkers like them, but nut allergies make them a poor fit for a board other people eat from.
17. Rotate Which Section You Chop On
Most cooks work in the same center patch every time. That puts nearly all the knife wear in a spot about the size of a dinner plate.
Turning the board end to end every week or so spreads it out. If the board is reversible, flipping to the other face doubles the working surface.
On end-grain boards this matters less, since the fibers tend to close back up around knife marks. It’s still a good habit on any board.
16. Keep It Away from Direct Sunlight
A board propped on a sunny windowsill looks great in photos. In practice, the sunny face dries faster than the shaded one, which sets up uneven movement in the wood.
Sun also fades and grays wood over time, especially lighter species. Moving it a few feet out of the light usually solves both problems.
15. Avoid Extreme Temperature Swings
Wood swells and shrinks with humidity, and temperature shifts make it worse. Moving a board from a warm kitchen to a cold garage or a damp basement stresses it every time.
Winter is the tricky season. Forced-air heat can drop indoor humidity fast, boards tend to dry out more in those months, and a little extra oil goes a long way.
For most people, the fix is simply keeping the board in the kitchen year-round.
14. Sharpen Your Knives Regularly
This sounds like knife advice, and it is. The board benefits more than you’d think, though.
Keep Reading
If this one is your kind of read:
→ 9 Warning Signs Your Cutting Board Is Contaminating Your Food
→ How to Choose the Right Wood Cutting Board for Your Kitchen
A dull blade needs more downward force to get through the same tomato, and that extra pressure digs deeper grooves. A sharp knife glides through food and leaves shallower marks behind.
Sharp knives on a stable board are easier on your fingers too, since there’s less slipping and sawing.
13. Use a Slicing Motion Instead of Chopping Straight Down
Hard, straight-down chopping drives a lot of force into a tiny point of contact. Do it a few thousand times and the center of the board starts to look hammered.
A forward or rocking slice spreads that force along the edge of the blade. It’s also faster and easier on your wrist, so the board ends up a side beneficiary of better technique.
Cleavers and bone work are the exception. Save those jobs for a thick board built to take it.
12. Never Use It as a Trivet
The board is right there on the counter, the pan is hot, and it’s only for a second. That’s how scorch rings happen.
Direct heat dries the contact area much faster than the rest of the board, and repeated hits can leave dark marks and small splits. A trivet or folded towel parked next to the stove makes the board a lot less tempting.
The same goes for resting a hot sheet pan or cast iron skillet on a serving board at a dinner party.
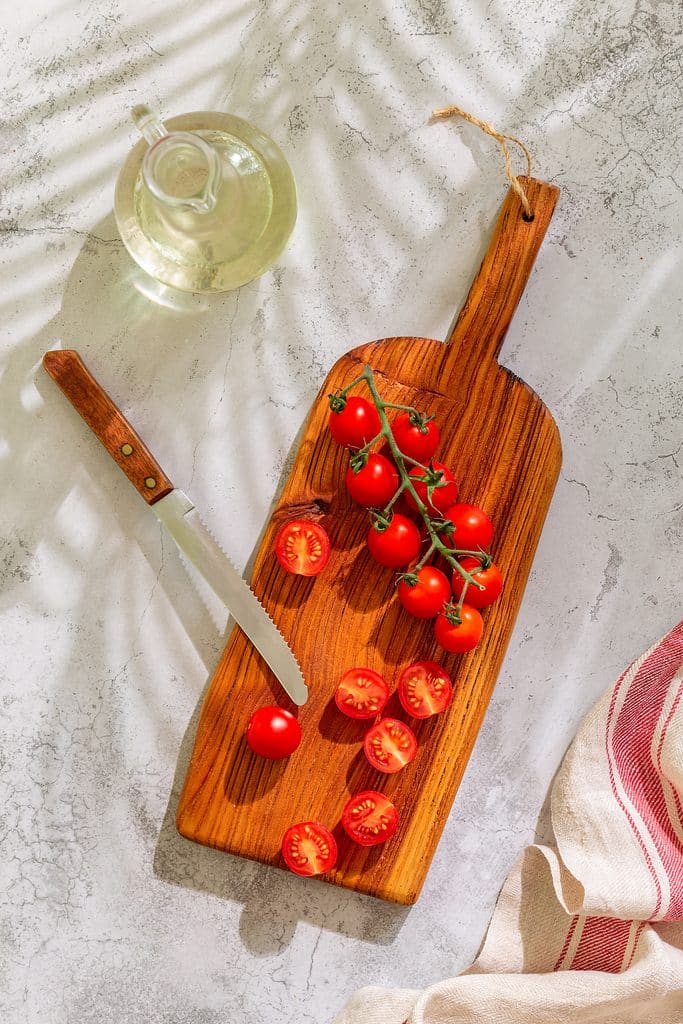
11. Keep a Separate Board for Raw Meat
This one is about food safety first and longevity second. Raw meat and anything that won’t be cooked, like salad greens or bread, are generally better kept on separate boards to limit cross-contamination.
There’s a longevity perk too. The raw-meat board takes the heavier scrubbing and sanitizing, while your nicer board sticks to produce and bread and gets gentler treatment.
While You're Here
The Complete Guide to Microplastics in the Kitchen: What the Research Actually Shows
Microplastics show up in plenty of headlines and not much context. This guide is the context. It isn't here to tell you...
If your current raw-meat board is an old, scarred plastic one, it may be worth checking how it’s holding up. Our guide to telling whether a board is shedding plastic walks through the signs.
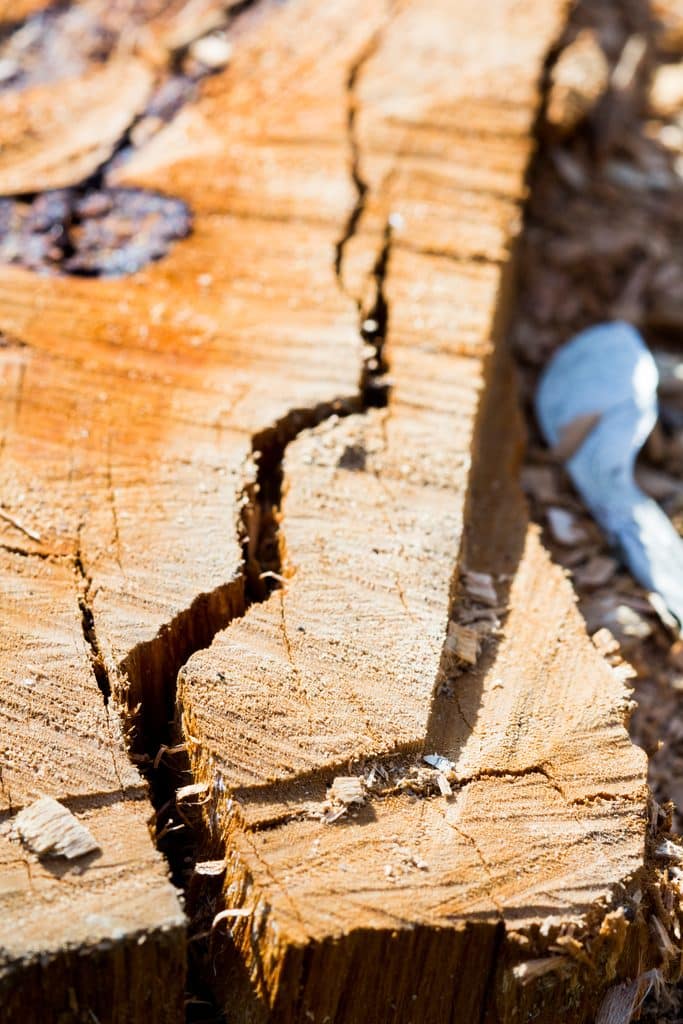
10. Address Small Cracks the Moment You See Them
A hairline crack caught early is usually a quick fix. Sand it lightly, oil it well, and keep an eye on it.
Ignored, the same crack tends to widen as the board cycles between wet and dry. It also gives food and moisture somewhere to hide, which turns a cosmetic problem into a cleaning one.
A quick look every couple of weeks while the board is dry catches most of these early. Our checklist of signs a board needs attention covers what else to look for during that check.
Halfway Check: Items 19 through 10 are mostly small handling habits, each one shaving a little wear off a long timeline. The back half is where the big ones live: water, drying, and oil.
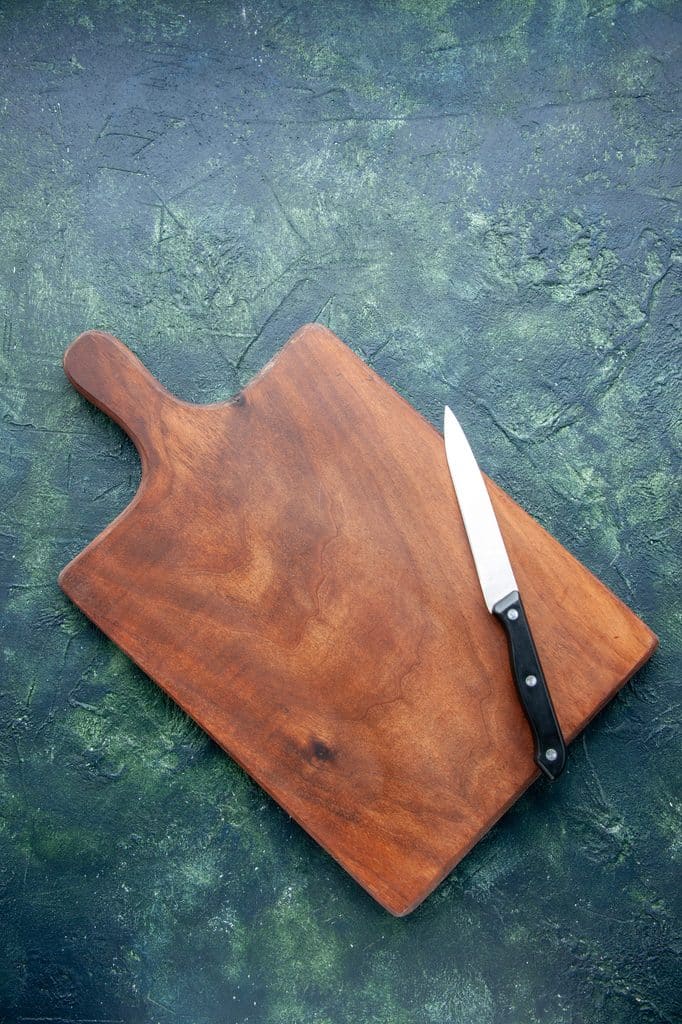
9. Buff Out Minor Scratches Once or Twice a Year
Light knife marks are normal, and a board covered in them is a board that gets used. They don’t need fixing right away.
Years of accumulated scratches do eventually make the surface feel rough and fuzzy. A pass with fine sandpaper (somewhere around 180 to 220 grit is common), followed by a good oiling, brings it back close to smooth.
On edge-grain boards, sand with the grain. On end grain, direction matters less than keeping the pressure light and the surface flat.
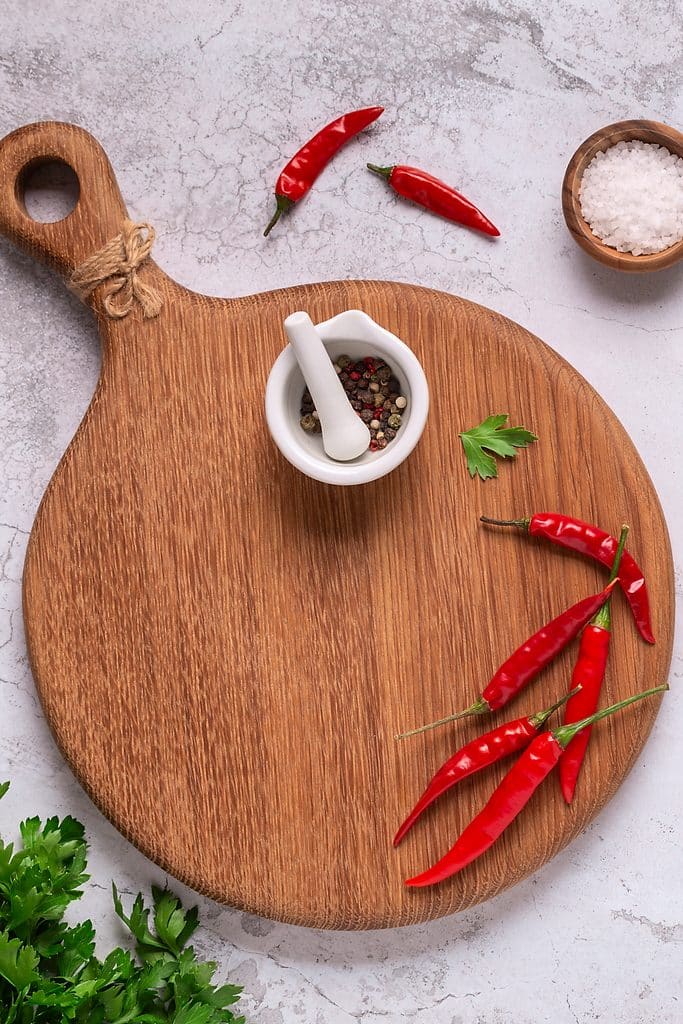
8. Store It Upright, Not Flat
Storage is where a lot of boards slowly warp. Lying flat in a cabinet or on the counter, the bottom face gets little air while the top breathes freely.

Jonathan grew up in New Jersey until his family moved to Germany, where he spent his youth in old-world butcher shops and French markets and learned that the best meals happen around a shared table. HardwoodChef started with one idea: make the board at the center of those moments.
Unlike plastic, it has nothing to shed into your food. Unlike glass or bamboo, its end grain is easy on your knives. And at nearly two inches thick, it’s sturdy enough to carve on and good-looking enough to serve straight from the board.
“Food brings people together. I wanted to make something worthy of sitting in the middle of it.”
Read Jonathan’s storyA board stand, a slot in a dish rack, or just leaning it against the backsplash keeps both faces equally dry. Leave a little space around it rather than wedging it between baking sheets.
Stacking heavy pans on top of a board is the other storage habit worth breaking. Weight on a board that’s even slightly damp can encourage it to set in a curve.
7. Wash by Hand, Never in the Dishwasher
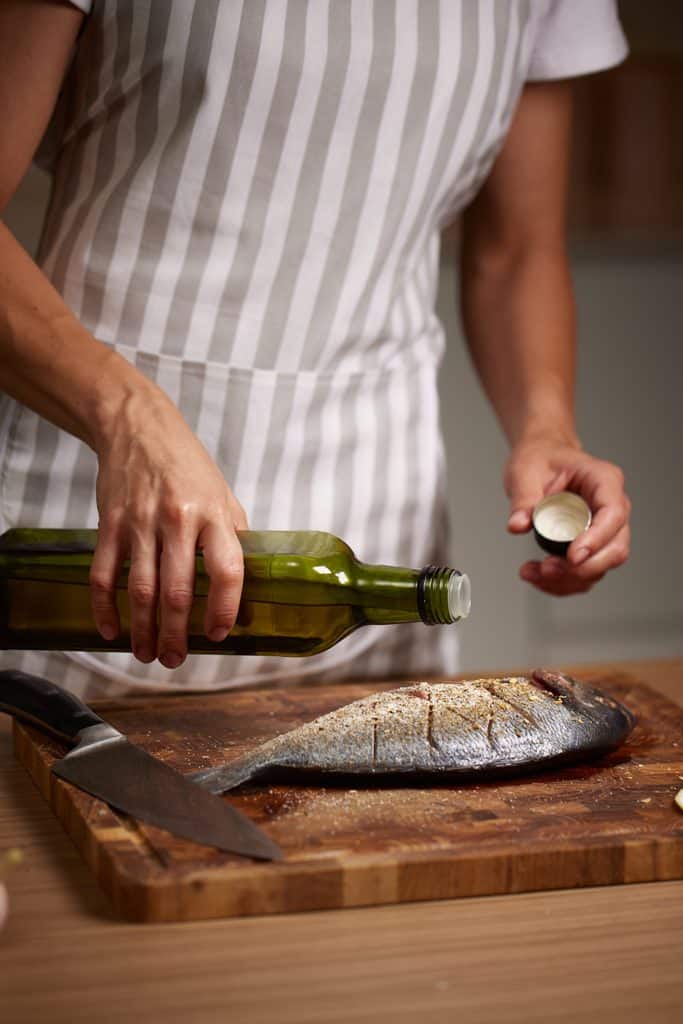
Every wood care list includes this one. It’s here anyway because it’s still how most good boards meet their end.
A dishwasher combines long soaking, high heat, and strong detergent, which is about the roughest treatment wood can get. One cycle can warp or split a board, and the odds climb with every run after that.
Hand washing takes about a minute: warm water, a little dish soap, a brush, and a rinse. If a board has already been through the machine, our rundown of common board mistakes covers what can still be saved.
6. Dry It Immediately After Washing
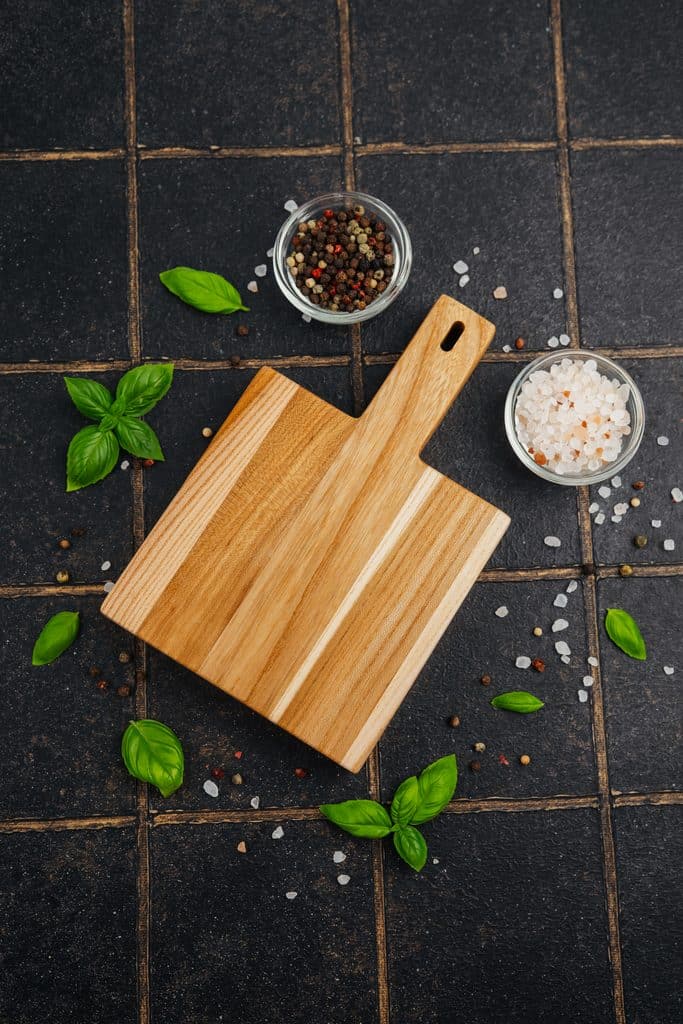
The minutes right after washing matter more than the washing itself. A board left wet keeps absorbing water, especially along the edges and through any exposed end grain.
Towel off both faces and the edges, then stand it on edge to finish air drying. Thirty seconds with a dish towel saves a lot of swelling and shrinking over the years.
5. Deep Clean With Salt and Lemon Occasionally
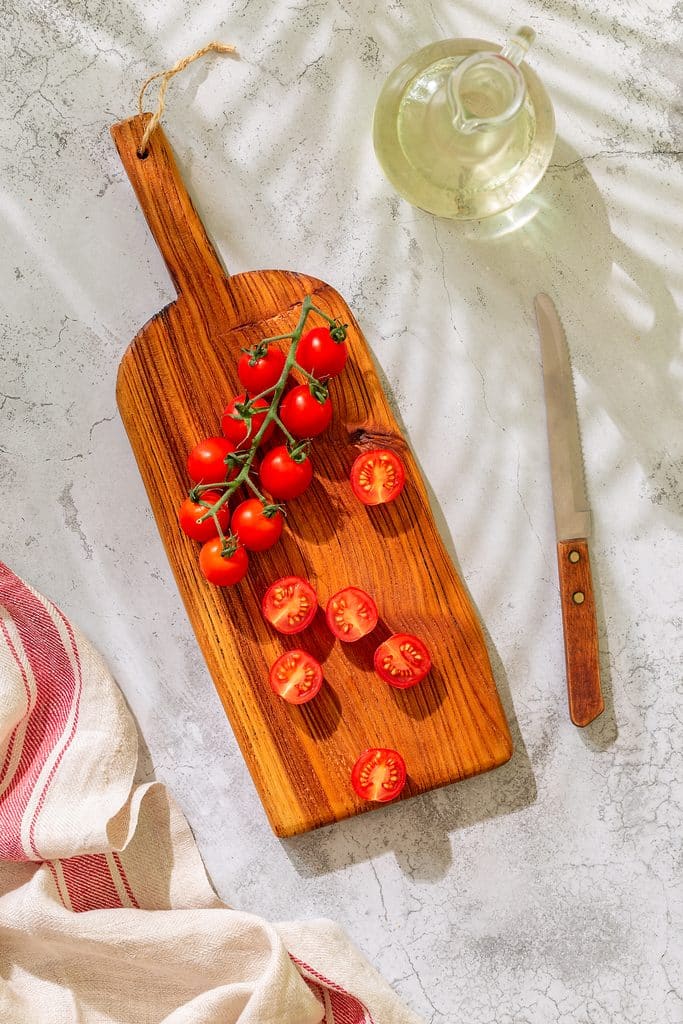
Garlic, onion, and fish can leave smells that hang around after a normal wash. Coarse salt scrubbed across the surface with half a lemon handles most of it without anything harsher.
Let it sit a few minutes, scrape off the salt, rinse, and dry. The salt works as a gentle abrasive and lifts some light stains along the way.
The Insider Move: Oil the board after a salt-and-lemon scrub. The acid and salt pull a little oil out of the surface, so a light coat afterward keeps it from drying out.
Dig Deeper
The Complete Beginner’s Guide to Building a Charcuterie Board
Charcuterie boards look intimidating from the outside, like there's a secret ratio or technique everyone else learned somewhere. There isn't, really. This...
4. Reseason After Heavy Use Stretches
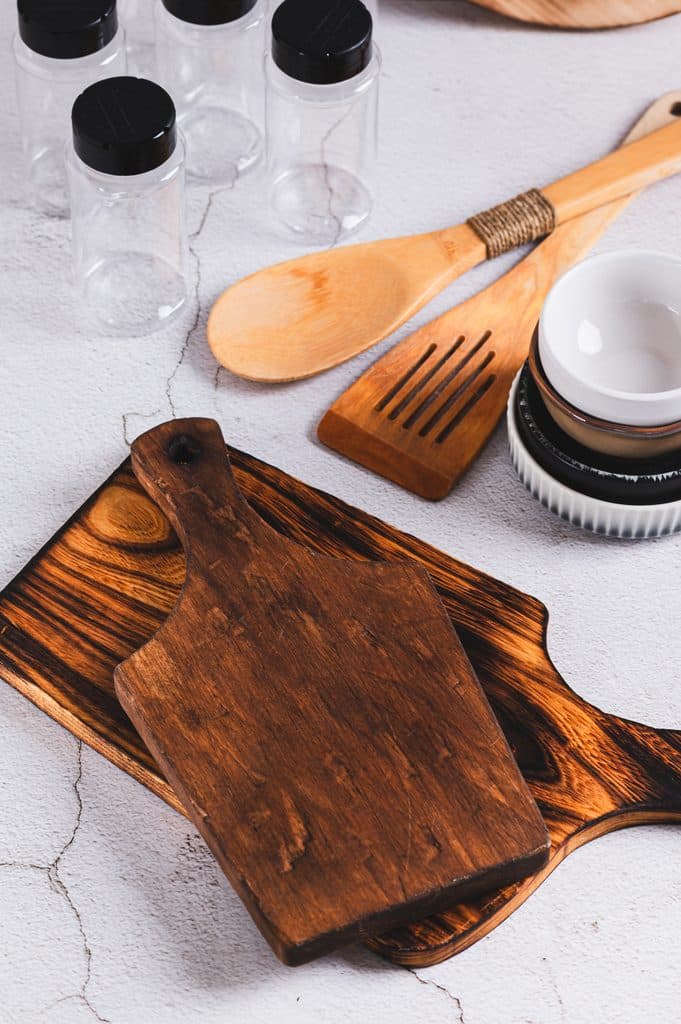
Holidays and big dinner parties can pack a month of wear into a single week. More washing, more knife work, more hours out on the table.
An extra oiling right after that stretch, outside the normal schedule, helps the board recover before it dries out. If you’ve just come through a season of spreads from our holiday charcuterie board ideas, this is the moment.
3. Don’t Overdo the Oil
A common assumption goes like this: if monthly oiling is good, oiling twice a week must be better. It isn’t.
Wood can only absorb so much at a time. Past that point, extra oil just sits on the surface, turns tacky, and collects dust and crumbs.
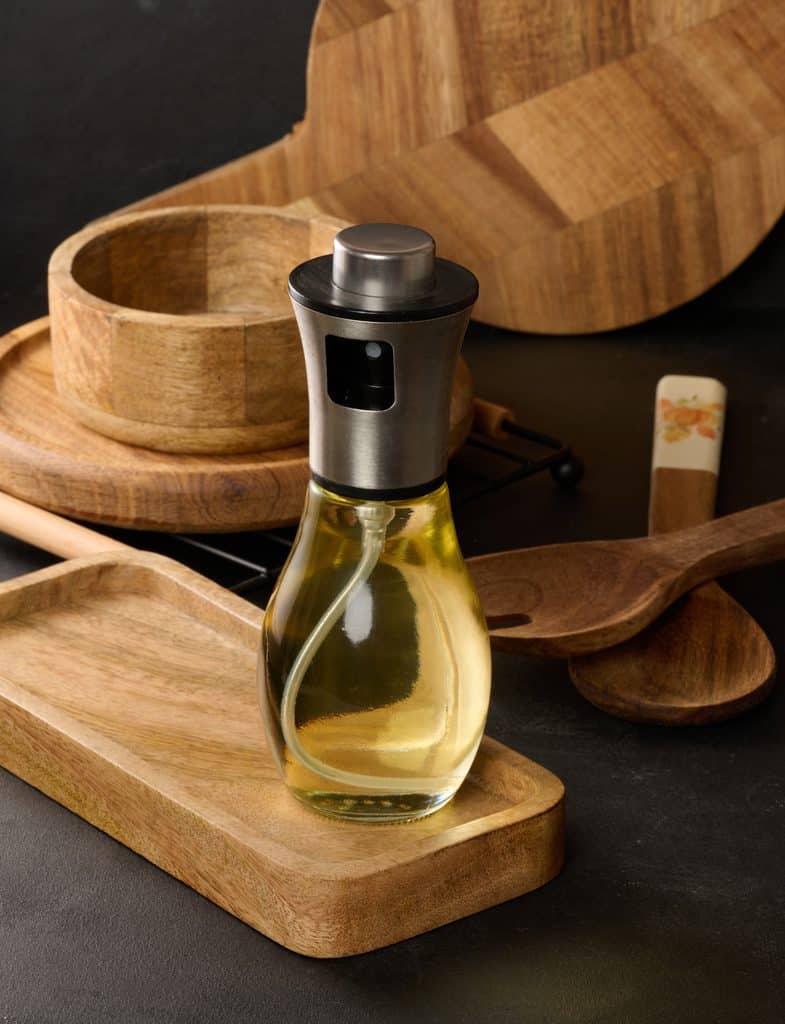
Apply a thin coat, let it soak in for a few hours or overnight, then wipe off whatever’s left. A steady, moderate schedule does more than an occasional flood.
2. Match Cleaning Intensity to What Touched the Board
A board that only saw bread and herbs needs a quick wash and a wipe. A board that just handled raw chicken needs more.
After raw meat, a thorough wash with hot soapy water is the baseline, and many food-safety sources also suggest a sanitizing step, commonly a diluted bleach solution, followed by a rinse and a full dry. White vinegar is a gentler option some people use for routine freshening.
Deep-cleaning after every use wears the surface and strips oil for no reason, while under-cleaning after meat is the bigger risk. Adjusting to the job is the sensible default.
Readers Can't Stop Opening These
★ Plastic-Free Kitchen Swaps: What to Replace First
★ 31 Everyday Items Leaking Microplastics in Your Home Right Now
1. Commit to a Consistent Oiling Schedule
If this whole list had to shrink to one habit, this would be it. A board that’s oiled on a regular schedule rarely gets dry enough to crack, cup, or turn fuzzy, which is most of what the rest of this list is trying to prevent.
Roughly once a month is the usual guideline for a board in regular use. Dry climates and winter heating can push that closer to every two or three weeks, and a brand-new board often benefits from a few extra coats in its first couple of weeks.
The board will tell you when it’s due. A pale, dull, or slightly chalky surface means it’s thirsty, and water that soaks in instead of beading up confirms it.
The trick is tying it to something you already do, like the first weekend of the month or the day the recycling goes out. Habits with a trigger tend to stick, and good intentions on their own usually don’t.
Construction plays a part too. A dense end-grain board, like the acacia ones we make at HardwoodChef, tends to take oil evenly and stay stable, so the same monthly routine stretches further. Our guide to picking the right board covers what to look for, and our step-by-step oiling, cleaning, and storage guide walks through the full technique.
Where to Go From Here
Nineteen habits is a lot to take on at once, and nobody adopts all of them in a week.
If you only commit to a few: wash by hand, dry it right away and store it on edge, and oil it on a schedule. Those cover the bulk of what shortens a board’s life.
If your board already has damage these habits won’t reverse, our guide to restoring versus replacing a board helps sort out what’s salvageable. And if you’re still weighing wood against other materials, our wood, plastic, and bamboo comparison lays out the tradeoffs.