The Complete Wood Cutting Board Care Guide: Oiling, Cleaning & Storage

This is the reference guide, the one to bookmark instead of trying to remember the oiling routine six months from now. For the wider set of habits it draws from, our 19 ways to make a board last a lifetime is the companion piece.
It’s organized by job: oiling, everyday cleaning, cleaning after raw meat, what to avoid, storage, troubleshooting, and a schedule that pulls it all together. Jump to whatever you need right now.
Everything here reflects general wood care guidance for hardwood boards in home kitchens. Bamboo and composite boards follow similar rules, though their glues and finishes vary by product, so the maker’s instructions come first.
Oiling: How Often and With What
Oiling is the habit that does the most to keep a wood board from drying out, cracking, and warping. It’s also the first habit to slip once a new board stops feeling new.
What to Use
Food-grade mineral oil is the standard choice. It’s inexpensive, generally stays neutral in smell and taste, and soaks into the wood rather than sitting on top.
Board cream or conditioner, usually mineral oil blended with beeswax or carnauba wax, is the common finishing step. The wax adds a light protective layer and helps water bead up instead of soaking in.
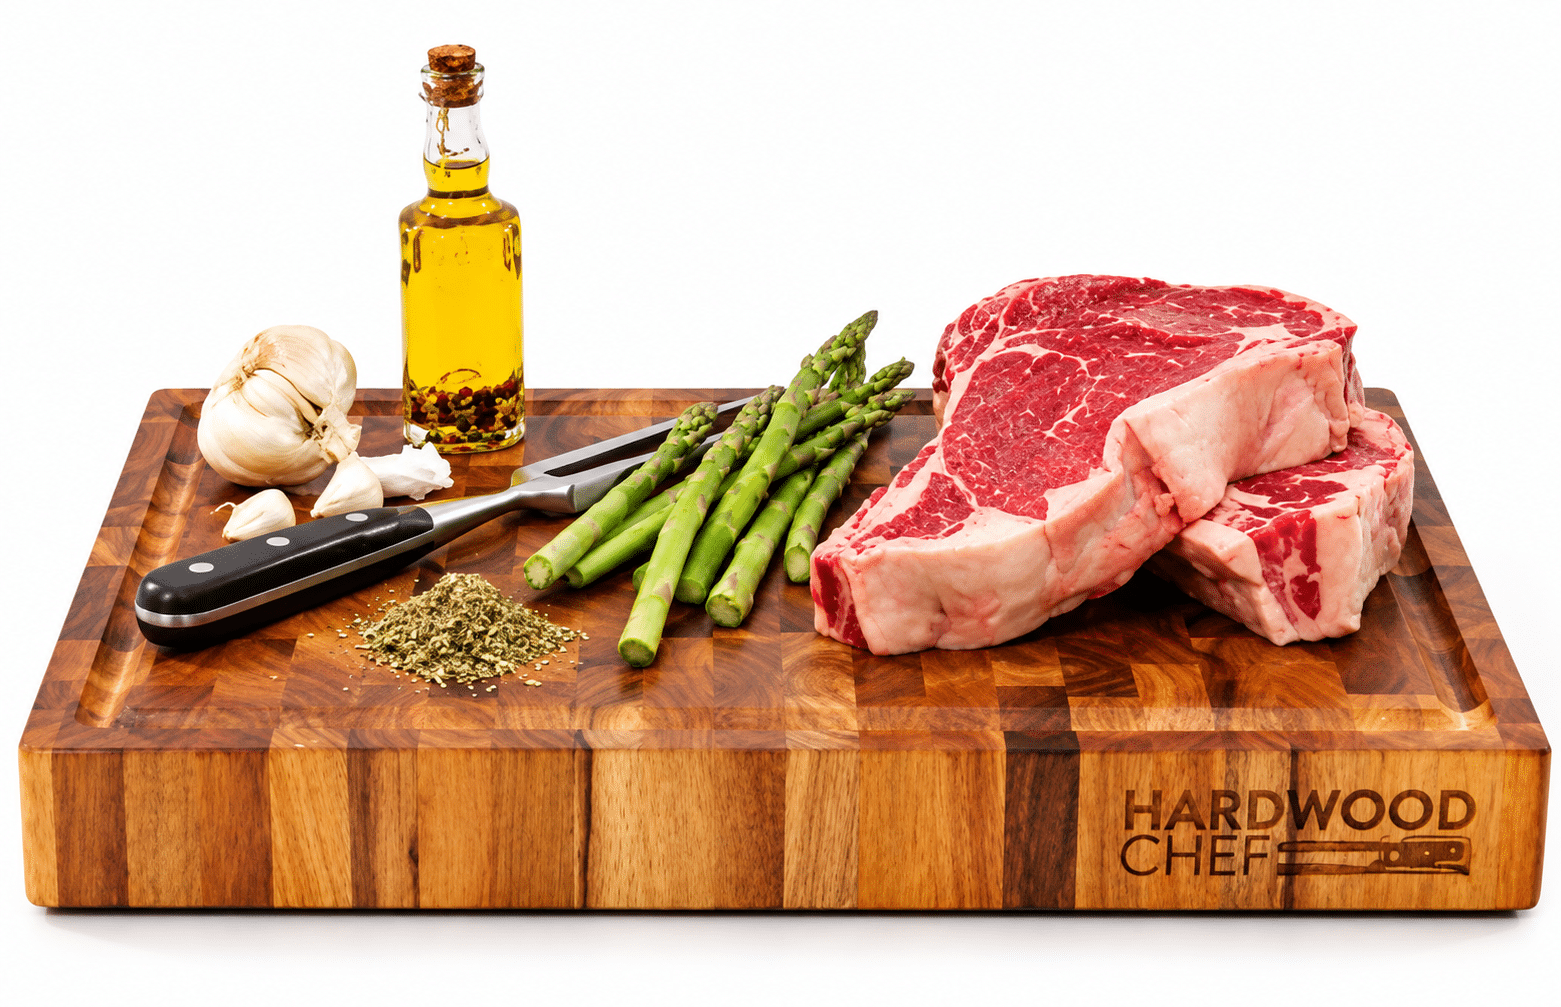
On end grain, your knife slips between the wood fibers instead of slicing across them, so it's easier on blades and the surface wears more slowly. Ours is 1¾ inches of solid acacia with a juice groove and finger grips, preconditioned with mineral oil and ready to use. See the details.
See the board, now $119Regularly $179 · Arrives gift-wrapped in butcher paperCooking oils like olive, vegetable, or canola get recommended often, but they can go rancid over time and leave a stale smell behind. Nut oils such as walnut are sometimes used by woodworkers, though nut allergies make them a poor fit for a board other people eat from.
How Often
Roughly once a month is the general guideline for a board in regular use. Dry climates, winter heating, and frequent washing can push that closer to every two or three weeks.
The board usually tells you when it’s due. A pale, dull, or slightly rough surface means it’s thirsty, and a few drops of water that soak in quickly rather than beading up confirm it.
A new board often needs more attention up front. Several coats over the first week or two help dry wood take on enough oil to settle into a regular routine.
Step by Step
Start with a clean, fully dry board, since oil can’t absorb into wet wood. Pour a modest amount onto the surface and spread it with a clean, lint-free cloth, covering every face and edge, bottom included.
Let it soak in for at least a few hours, and overnight if you can, with the board standing on edge. Then wipe off whatever hasn’t absorbed so the surface doesn’t turn sticky.
For the finishing layer, rub a thin coat of board cream across the surface, let it sit for about 20 minutes, then buff with a clean cloth until it no longer feels tacky.
How Much Oil
For a medium board, roughly one to two tablespoons per side is a typical starting amount, with more for a new or very dry board and less for routine top-ups. End-grain boards tend to absorb more than edge-grain ones, since their exposed fibers soak up oil like a bundle of straws.
Keep Reading
If this one is your kind of read:
→ 8 Wood Cutting Board Mistakes That Are Ruining Yours Right Now
A note on these numbers: amounts and soak times here are rules of thumb from common wood care guidance, not precise measurements. Board size, wood species, and how dry the board is all shift them.
From the HardwoodChef Shop: Our thick acacia end-grain boards are built for exactly this kind of routine, since dense end grain tends to take oil evenly and stay stable through daily use. A few coats when it arrives and a monthly top-up after that usually keep it in good shape.
Everyday Cleaning
Day-to-day cleaning is simpler than most people expect. Overdoing it is more common than underdoing it.
Scrape off food bits, then wash with warm water, a little mild dish soap, and a sponge or brush right after use. Rinse quickly under running water rather than letting the board sit in the sink.
Towel it dry on both faces and the edges, then stand it on edge to finish air drying. A board left wet or lying flat is where most warping starts.
After Raw Meat, Poultry, or Fish
Raw proteins call for more than a quick rinse. Wash promptly with hot, soapy water and a brush, paying attention to any knife grooves.
For a sanitizing step, commonly cited food-safety guidance suggests a solution of about one tablespoon of unscented liquid chlorine bleach per gallon of water. Flood the surface, let it stand for a few minutes, rinse with clean water, and dry thoroughly.
While You're Here
How to Tell If Your Cutting Board Is Shedding Plastic (And What to Do About It)
Plastic cutting boards don't come with a warning light. There's no single moment where one flips from fine to worn out. It...
Many households keep a separate board for raw meat to limit cross-contamination, so that board takes the heavier cleaning. Diluted white vinegar or 3% hydrogen peroxide are gentler options some people use for routine freshening, generally as a supplement to proper washing rather than a substitute.
Odors and Stains
Garlic, onion, and fish smells usually respond to coarse salt scrubbed across the surface with half a lemon. Let it sit a few minutes, scrape it off, rinse, and dry.
A paste of baking soda and a little water works on stubborn stains and lingering smells. Since salt and acid pull some oil from the surface, a light coat of oil afterward keeps the board from drying out.
What Never to Do
A short list, and every item on it is a common way good boards fail early.
The dishwasher. Long water exposure, high heat, and strong detergent are close to the worst combination for wood, and a single cycle can warp or crack a board. It tops our list of common cutting board mistakes for a reason.
Soaking. Even a short soak in a sink full of water pushes moisture deep into the fibers and can weaken glue joints. A quick wash under running water cleans just as well.
Drying flat. A wet board lying flat dries unevenly, with the top in open air and the bottom pressed against the counter. That imbalance is a common route to cupping and warping.

Jonathan grew up in New Jersey until his family moved to Germany, where he spent his youth in old-world butcher shops and French markets and learned that the best meals happen around a shared table. HardwoodChef started with one idea: make the board at the center of those moments.
Unlike plastic, it has nothing to shed into your food. Unlike glass or bamboo, its end grain is easy on your knives. And at nearly two inches thick, it’s sturdy enough to carve on and good-looking enough to serve straight from the board.
“Food brings people together. I wanted to make something worthy of sitting in the middle of it.”
Read Jonathan’s storyUndiluted bleach or harsh cleaners. Full-strength bleach, oven cleaner, and heavy-duty sprays can dry the wood, strip its oil, and leave blotchy discoloration.
Using it as a trivet. A hot pan or sheet tray set on the board can scorch the surface and dry out the contact area much faster than the rest.
Microwaving it to sanitize. This shows up online now and then as a hack. It’s a fast way to dry out, split, or scorch a board.
Storage and Humidity
Where a board sits between uses matters more than people expect. Wood keeps moving with humidity long after it leaves the workshop.
Store it upright in a board rack, a dish rack slot, or leaning against the backsplash, so air reaches both faces. Leave a little breathing room rather than wedging it between baking sheets, and avoid stacking heavy pans on top while it’s even slightly damp.
Keep it away from the stove, dishwasher vents, radiators, and sunny windowsills. Heat and direct sun dry wood unevenly and can fade it over time.
Indoor humidity shifts through the year. Winter heating tends to dry boards out, so oiling a bit more often in those months helps, while humid summers make thorough drying after each wash more important.
Dig Deeper
How to Choose the Right Wood Cutting Board for Your Kitchen
Walk down a cutting board aisle and it's a wall of options that all look roughly the same. They aren't, and the...
Worth Knowing: a board that’s stored well and oiled consistently rarely needs the restoration work covered in our guide to restoring versus replacing a board. Most damage that ends up there traces back to drying and storage habits rather than the wood itself.
Troubleshooting Common Problems
Most wood board problems come down to a short list of likely causes and an equally short list of fixes. Here’s how the common ones usually break down.
| Problem | Likely cause | What usually helps |
|---|---|---|
| Pale, dull, or dry surface | Overdue for oil | Oil generously, soak overnight, wipe off excess |
| Fuzzy or raised grain | Water lifting the fibers, common on new boards | Light sanding with fine grit, then oil |
| Sticky or tacky surface | Too much oil or cream left on top | Wash with warm soapy water, dry, then buff a thin coat |
| Stale or sour smell | Cooking oil gone rancid, or trapped moisture | Deep clean, light sanding, re-oil with mineral oil |
| Food stains | Beets, berries, turmeric, wine | Salt and lemon or baking soda paste, sanding if needed |
| Hairline cracks | Drying out, or uneven drying | Oil well, then sand and oil if the area feels rough |
| Slight warp | Uneven moisture, often from drying flat | Damp towel on the concave side, then even drying; replace if severe |
| Mold spots | Stored while damp | Tiny surface spot: scrub and sand. Anything more: replace |
How this was compiled: causes and fixes reflect general wood care guidance for home cutting boards rather than testing of specific products. Results vary with the wood, the construction, and how far a problem has progressed.
Refreshing a Worn Surface
When a board feels rough or knife marks have built up, a light sanding brings it back. A common progression starts around 120 grit for heavier wear, then moves to roughly 180 to 220 grit for a smooth finish.
Wiping the surface with a damp cloth after sanding, letting it dry, and making one last pass with the finest grit knocks down any fibers the water raised. Then oil it the way you would a new board, with a couple of extra coats.
Readers Can't Stop Opening These
★ Plastic-Free Kitchen Swaps: What to Replace First
Deep cracks, soft spots, persistent smells, and serious warping go beyond a refresh. Our checklist of warning signs a board needs attention covers where the line usually falls.
A Simple Maintenance Schedule
For anyone who’d rather have one routine than piece it together from the sections above, here’s how it typically breaks down.
| When | What to do |
|---|---|
| After every use | Wash, rinse, towel dry, and stand it on edge |
| After raw meat, poultry, or fish | Hot soapy wash, optional diluted bleach sanitizing step, rinse, dry |
| Weekly | Quick look and feel for rough spots or new cracks |
| About monthly | Oil, let it soak, wipe off the excess, optional board cream |
| Every few months | Salt-and-lemon refresh if smells linger |
| Once or twice a year | Light sanding if the surface feels rough, then oil |
About this schedule: it’s built around a board in regular home use and general care guidance, so treat the intervals as starting points. Heavier use, dry climates, and winter heating usually call for oiling a little more often.
That’s most of it. Wood care has a reputation for being fussy, but in practice it’s a handful of habits repeated consistently.
Same Routine, Different Shape: Wood salad and serving bowls, including the acacia bowls in the HardwoodChef shop, follow nearly the same care: a quick hand wash, a thorough dry, and an occasional coat of mineral oil.
Where to Go From Here
If you’re still choosing a board rather than caring for one, our buying guide covers wood type and construction, both of which affect how much upkeep a board needs. And if you’re weighing wood against other materials, our wood, plastic, and bamboo comparison lays out the care burden of each.