8 Wood Cutting Board Mistakes That Are Ruining Yours Right Now

If your wood cutting board looks tired, cracked, or a little grim after a year or two, the wood probably isn’t the problem.
A decent hardwood board can last for decades. Most of the damage people blame on cheap wood or bad luck comes from a handful of everyday habits, done on autopilot, a few seconds at a time.
The annoying part is that most of these feel like the right thing to do. Soaking it feels thorough. Letting it dry on the counter feels responsible.
If you switched to wood partly because of the plastic question, our breakdown of what the microplastics research does and doesn’t show covers that side. This list is about keeping the board you already own in good shape.
Eight mistakes, counting down to the one that can wreck a board in a single evening. Odds are you’ll recognize at least one.
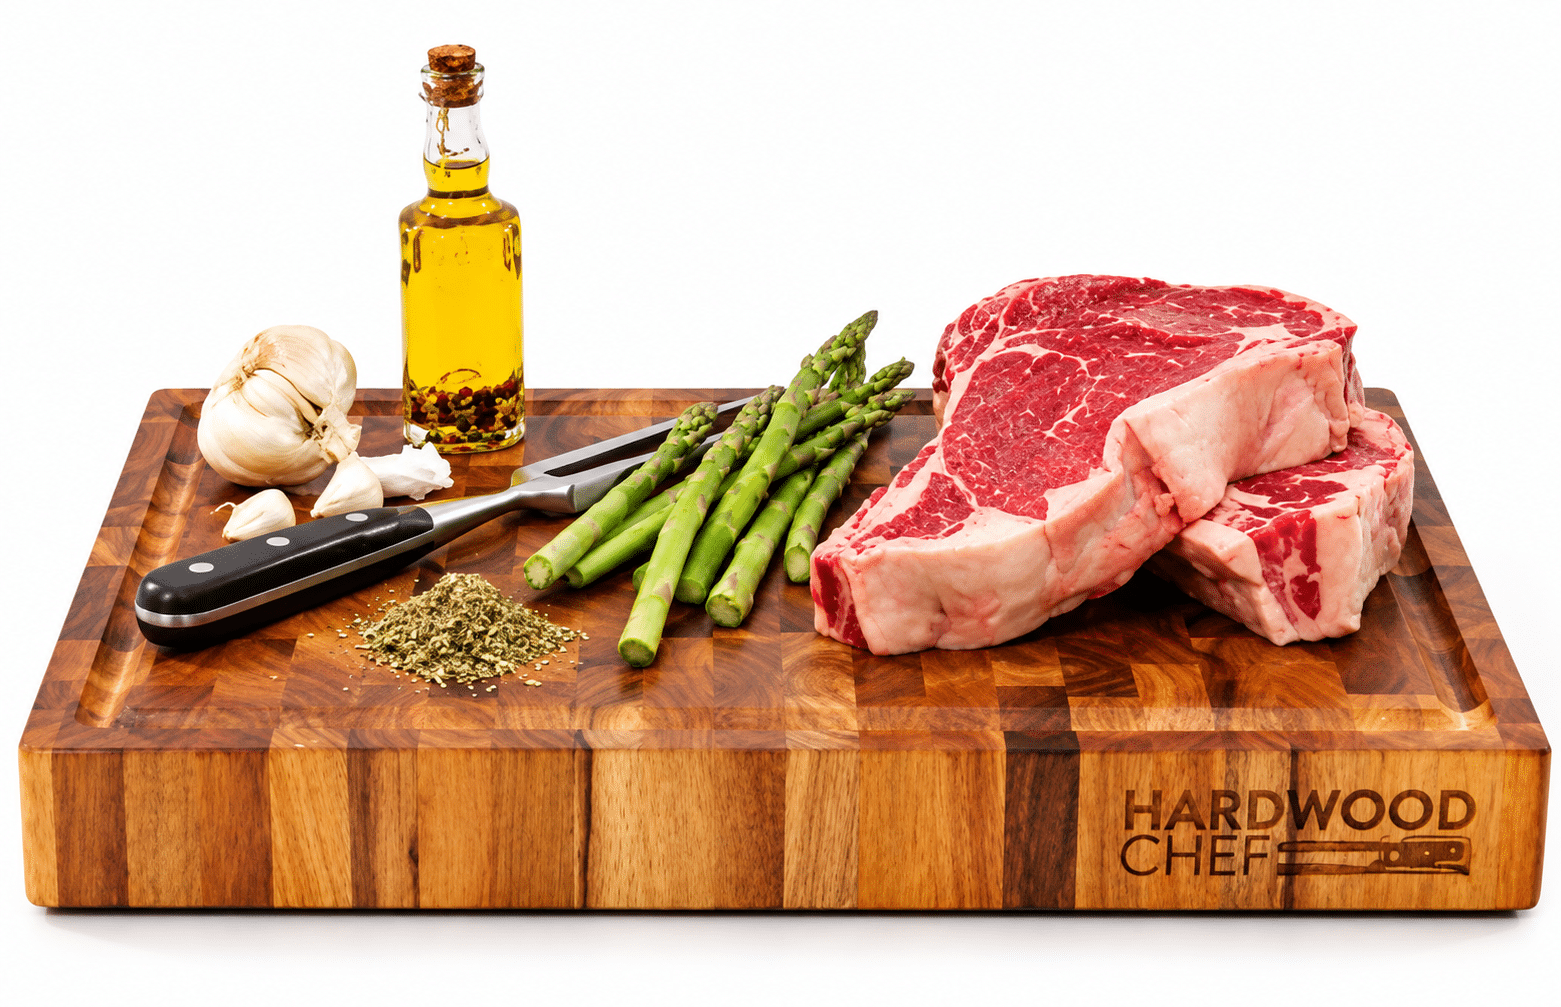
On end grain, your knife slips between the wood fibers instead of slicing across them, so it's easier on blades and the surface wears more slowly. Ours is 1¾ inches of solid acacia with a juice groove and finger grips, preconditioned with mineral oil and ready to use. See the details.
See the board, now $119Regularly $179 · Arrives gift-wrapped in butcher paper
8. Letting It Air Dry Flat on the Counter
You wash it, rinse it, and lay it down to dry. Seems fine, except the top dries in open air while the bottom sits pressed against the counter, damp for hours.
Wood swells when it’s wet and shrinks as it dries. When one face dries much faster than the other, the board can start to cup or bow, slowly at first and then all at once.
Towel it off and stand it on edge, against the backsplash or in a dish rack, so air reaches both faces. The same logic applies to storage, where a simple board stand beats a tight cabinet slot. It’s one of the easier wins from our list of small routines that keep a board going for decades.
Dry it standing up, not lying down.
7. Using the Wrong Oil, or None at All
Olive oil is right there by the stove, so it’s tempting. The catch is that most cooking oils can go rancid over time, and a board treated with them may start smelling stale a few weeks later.
Food-grade mineral oil, or a board conditioner that blends mineral oil with beeswax, generally doesn’t have that problem. It’s what most wood care guidance points to, and it’s cheap.
Skipping oil altogether is the other half of this mistake. A dry board tends to crack and soak up more moisture, so a light coat roughly once a month, or whenever the wood looks pale and thirsty, keeps it in good shape.
Mineral oil or board conditioner. Save the olive oil for the salad.
Keep Reading
If this one is your kind of read:
→ The Complete Wood Cutting Board Care Guide: Oiling, Cleaning & Storage
6. Scrubbing It With Bleach or Harsh Cleaners
When a board looks stained or smells off, the instinct is to grab the strongest thing under the sink. Full-strength bleach, oven cleaner, or a heavy-duty spray can dry out wood, strip the oil that protects it, and leave blotchy discoloration behind.
For everyday cleaning, hot water and mild dish soap usually do the job. Coarse salt and half a lemon scrubbed across the surface handle most odors and light stains, and a splash of white vinegar is another gentle option.
If you want to sanitize after raw meat, food-safety guidance generally calls for a diluted bleach solution rather than straight bleach, followed by a rinse and a thorough dry. Using more chemical than the job needs is one of those kitchen habits most people don’t realize they have.
Gentle cleaning most days, a diluted solution when it counts.
5. Cutting Only in One Spot
Most of us chop in the same center patch every single time. Over months, that spot wears faster than the rest of the board and can develop a shallow dip or a fuzzy, scored texture.
Here’s the honest take: of everything on this list, this one matters least. It’s mostly cosmetic, and a light sanding fixes it whenever you feel like bothering.
Rotating the board end to end every so often is plenty. End-grain boards, like the acacia ones we make at HardwoodChef, also tend to hide knife marks better, since the fibers part around the blade instead of getting sliced across.
While You're Here
31 Everyday Items Leaking Microplastics in Your Home Right Now
You probably think of microplastics as an ocean problem. Sea turtles, plastic islands, something happening far away from your kitchen counter. Some...
Rotate it now and then, but don’t lose sleep over this one.
Myth: Once a board is well oiled, it’s basically waterproof.
Reality: Oil slows water down, but it doesn’t seal it out. A freshly oiled board still needs a quick wash and a prompt dry, which is why the next mistake catches so many careful owners off guard.
4. Soaking It to “Deep Clean” It
Leaving a board in a sink full of soapy water feels thorough. In practice, it pushes moisture deep into the wood fibers, and that water takes a long time to work its way back out.
Long soaks can raise the grain, weaken the glue joints on edge-grain and end-grain boards, and set up the kind of warping and splitting that’s hard to undo.
A quick scrub under running water, a rinse, and an immediate towel-dry gets it just as clean. The whole thing takes about a minute.

Jonathan grew up in New Jersey until his family moved to Germany, where he spent his youth in old-world butcher shops and French markets and learned that the best meals happen around a shared table. HardwoodChef started with one idea: make the board at the center of those moments.
Unlike plastic, it has nothing to shed into your food. Unlike glass or bamboo, its end grain is easy on your knives. And at nearly two inches thick, it’s sturdy enough to carve on and good-looking enough to serve straight from the board.
“Food brings people together. I wanted to make something worthy of sitting in the middle of it.”
Read Jonathan’s storyWash it fast, dry it faster.
3. Leaving It Near a Heat Source
Counter space is tight, and the slot right next to the stove is often the last open spot. It’s also the worst one for wood.
Repeated heat dries a board out faster and more unevenly than normal use, which can lead to small splits along the grain. Setting it on a still-warm burner or beside the oven vent is the quick version of the same problem.
Moving it a few feet away usually solves it. If the board has to live near the stove anyway, oil it a little more often to make up for the dry air.
A few feet from the stove goes a long way.
2. Ignoring Small Cracks Until They Spread
A hairline crack caught early is usually a weekend fix: a light sanding, a good oiling, and it’s back in service. Left alone, that same crack tends to widen as the board goes through wet and dry cycles.
Cracks also give food bits and moisture a place to hide, which turns a durability issue into a cleaning one. Our checklist of signs a board is holding onto more than it should covers what’s worth worrying about.
Dig Deeper
How to Tell If Your Cutting Board Is Shedding Plastic (And What to Do About It)
Plastic cutting boards don't come with a warning light. There's no single moment where one flips from fine to worn out. It...
Run a hand across the surface every few weeks while it’s dry. Finding a crack at the five-minute-fix stage beats finding it at the full-restoration stage.
Small cracks are cheap to fix. Big ones aren’t.
1. Putting It in the Dishwasher
This is the big one. It usually happens in a hurry, or because someone else loaded the dishwasher and didn’t know the board was different from the plates.
A dishwasher cycle combines long water exposure, high heat, and harsh detergent, which is about the worst mix you can throw at wood. A single run can cause visible warping or cracking, and repeated runs tend to shorten a board’s life dramatically.
This is also one of the biggest practical differences between materials. Plastic boards are often sold as dishwasher-safe and wood isn’t, and our side-by-side look at wood, plastic, and bamboo walks through the tradeoffs on both sides.
If it’s already happened, the board isn’t necessarily finished. Raised grain and mild roughness can often be sanded smooth and re-oiled, though a board that’s badly warped or split along a glue line may be past saving. Our guide to deciding whether to restore or replace helps sort out which one you’re looking at.
Readers Can't Stop Opening These
★ 10 Toxic Kitchen Habits You Didn’t Know You Had
Going forward, hand washing is the rule for wood, full stop. A sticky note on the dishwasher sounds silly right up until it saves a board.
Hand wash only. No exceptions.
The Short Version
If you caught yourself in two or three of these, you’re in good company. Wood is more forgiving than its reputation, and fixing the habit now matters more than what’s already happened.
If you only do a few things: keep it out of the dishwasher, dry it standing up, and oil it with mineral oil whenever it looks pale. Those three cover most of the damage on this list.
For the full routine, our complete guide to oiling, cleaning, and storage goes deeper on every step. And if you’re shopping for a replacement, our breakdown of woods, grain styles, and sizes is a good place to start.