12 Signs It’s Time to Replace (or Restore) Your Cutting Board

“Just replace it” is the default advice for almost any worn kitchen tool. With wood cutting boards, it’s often the wrong first move.
Plenty of damage that looks terminal comes off with sandpaper and a good oiling. Some of it doesn’t, and knowing which is which keeps you from tossing a good board or hanging onto a bad one.
This list runs from purely cosmetic to definitely done. The first half is mostly fixable, the second half mostly isn’t, and the countdown ends with the sign that decides things on its own.
One note before starting: everything here applies to wood. Plastic boards follow different rules, and our guide to telling whether a plastic board is shedding covers those.
12 signs, starting with the easy ones.
12. Surface Stains From Food
Beet juice, turmeric, berries, and red wine all love a pale board. Those stains mostly sit in the top layer of wood fibers and don’t change how the board performs.
If they bother you, a salt-and-lemon scrub lightens many of them, and a light sanding takes off most of what’s left. If they don’t bother you, leave them alone, since a stained board is usually just a board that gets used.
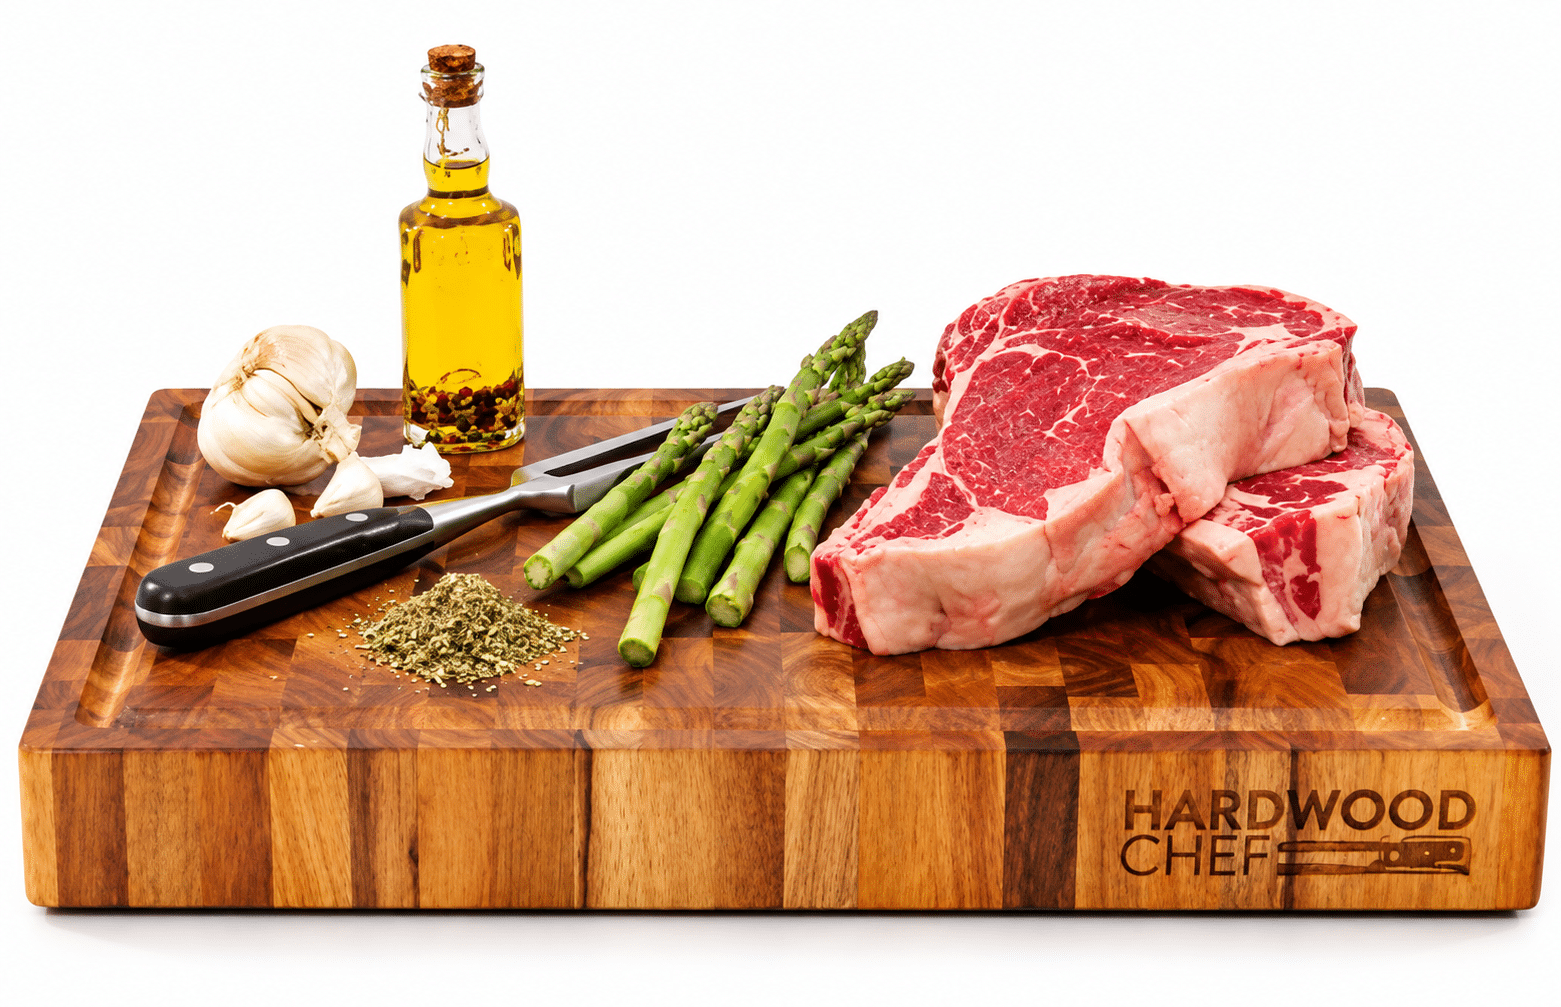
On end grain, your knife slips between the wood fibers instead of slicing across them, so it's easier on blades and the surface wears more slowly. Ours is 1¾ inches of solid acacia with a juice groove and finger grips, preconditioned with mineral oil and ready to use. See the details.
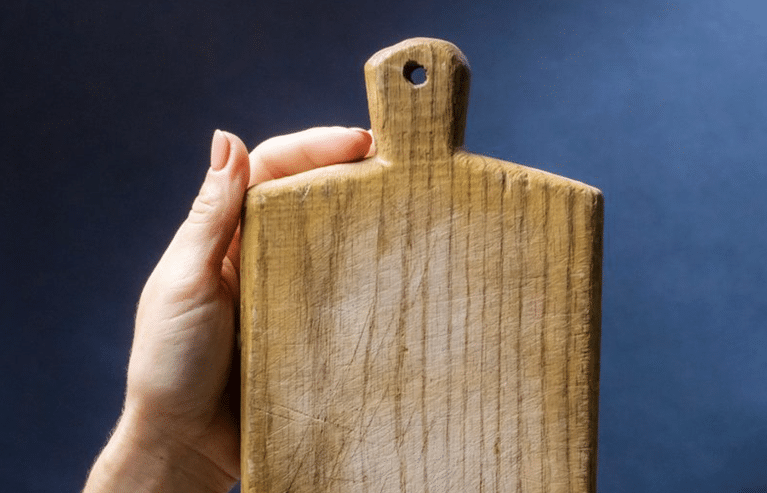
See the board, now $119Regularly $179 · Arrives gift-wrapped in butcher paperThe Verdict
Call: fixable, and optional
Fix: salt and lemon, or a light sanding
Time: 10 to 30 minutes
11. Light Knife Scoring
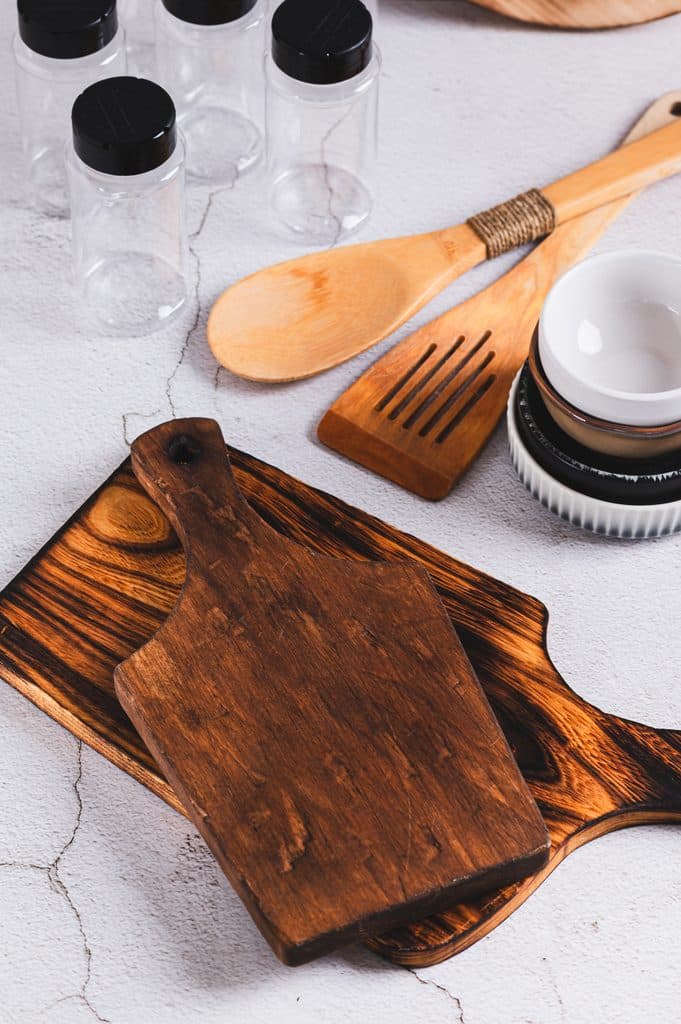
Shallow marks from normal chopping are expected wear. Every board in regular use has them, including very good ones.
This is the one sign on the list that usually needs nothing at all. If the surface starts to feel fuzzy or catch the blade, a quick pass with fine sandpaper smooths it out, but plenty of boards go years before that’s worth doing.
The Verdict
Call: fine as is
Fix: optional light sanding
Time: none, or about 20 minutes
10. A Slightly Dull, Dry-Looking Surface
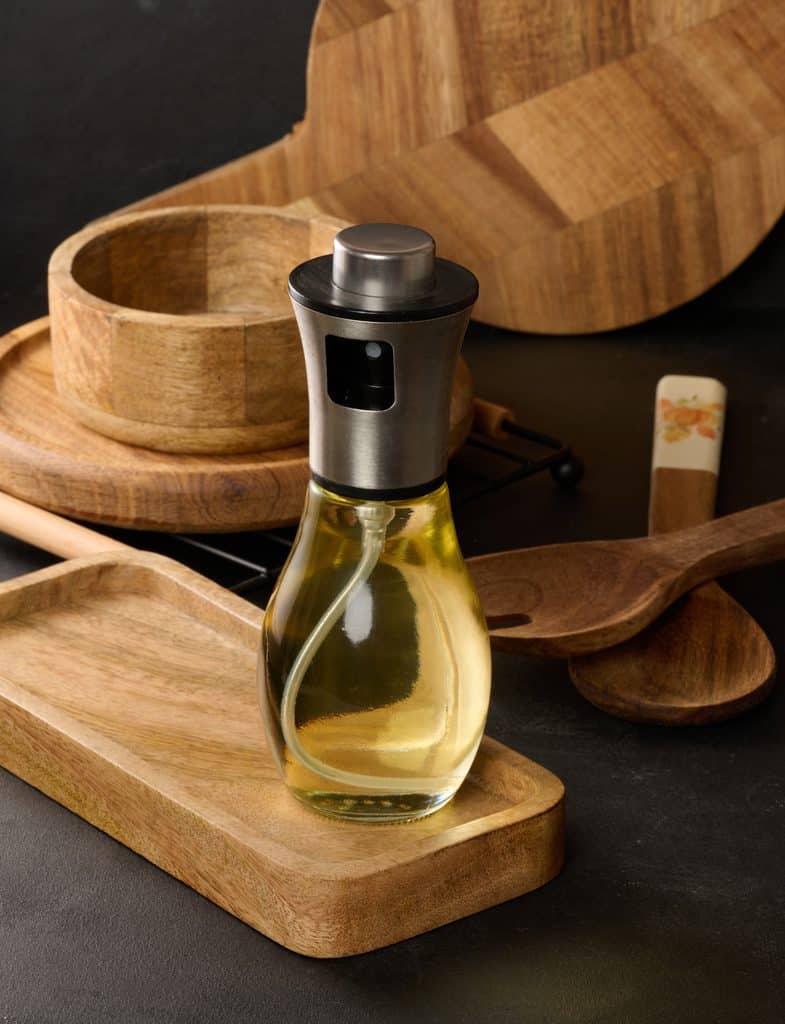
A pale, chalky, or slightly rough surface usually means the board is thirsty, nothing more. It’s the most common reason people think their board is ruined, and it’s almost never a structural problem.
A generous coat of mineral oil or board cream, left to soak in for a few hours or overnight and then wiped down, typically brings the color back within a day. If it keeps happening, our habits for keeping a board in shape for decades start with a steady oiling schedule.
The Verdict
Call: fixable
Fix: oil, let it soak, wipe off the excess
Time: 5 minutes of work, plus soaking time
9. Faded or Uneven Color
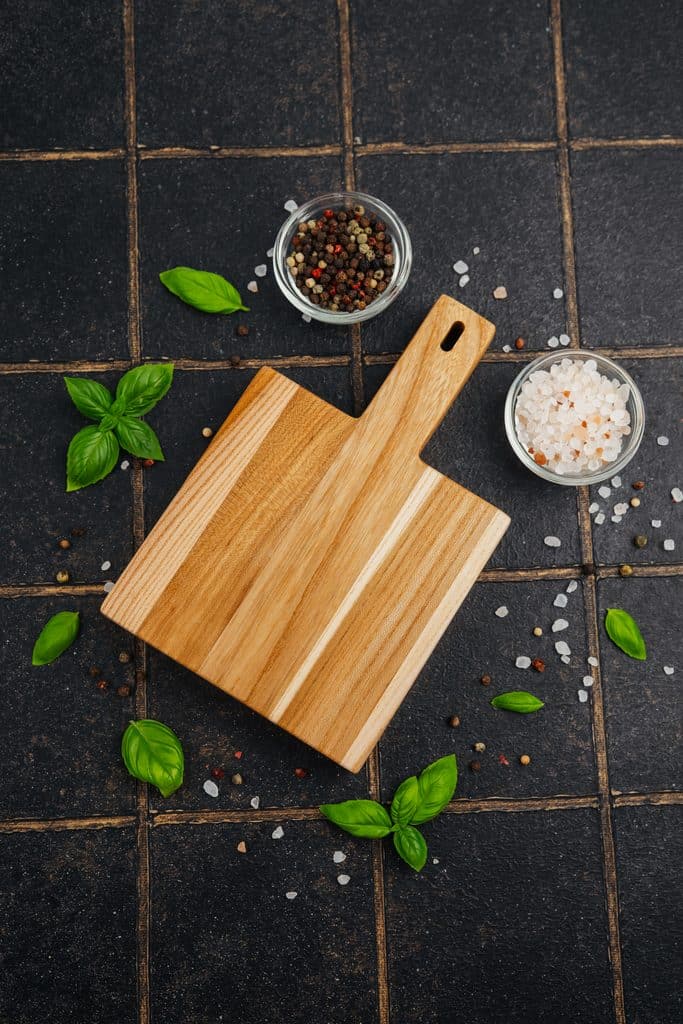
Sunlight, frequent washing, and spots that get oiled more than others can leave a board looking patchy or washed out. It’s a looks issue, not a performance one.
Sanding down to fresh wood and oiling evenly generally pulls the color back together. Lighter woods show fading the most, while darker woods like walnut or acacia tend to hide it better.
The Verdict
Call: fixable, cosmetic
Fix: sand to fresh wood, then oil
Time: about an hour
Keep Reading
If this one is your kind of read:
→ How to Choose the Right Wood Cutting Board for Your Kitchen
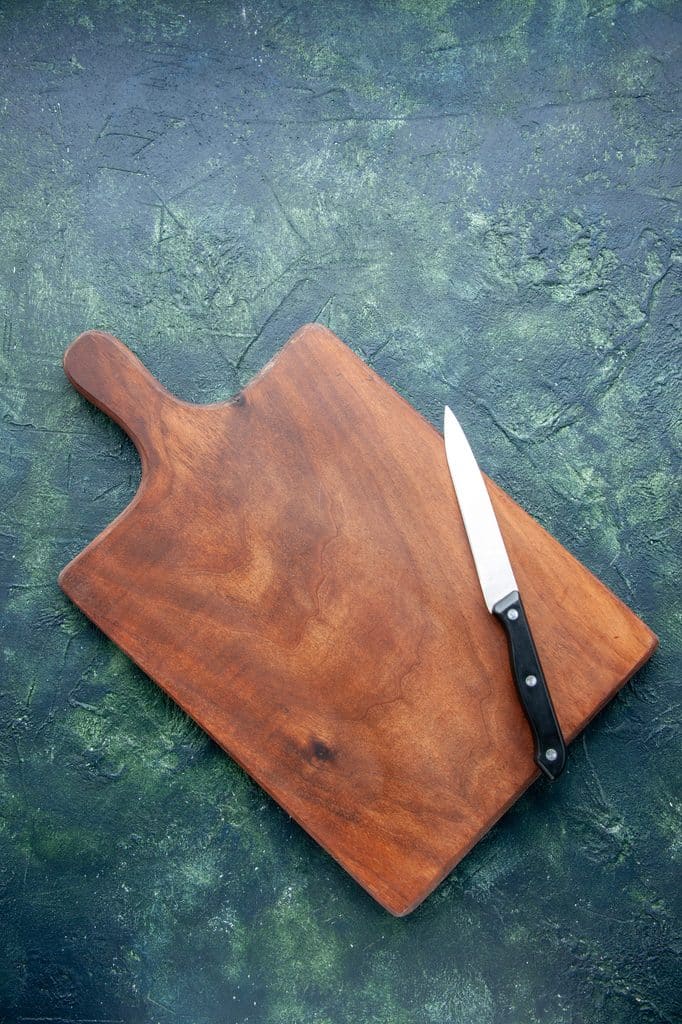
8. Deeper Grooves You Can Feel
Grooves deep enough to catch a fingernail are worth dealing with. They can trap food bits and moisture, which makes the board harder to get properly clean.
A moderate sanding usually handles it, commonly starting around 80 to 120 grit to get below the groove depth, then working up to something finer before oiling. It’s a messier afternoon than a light touch-up, but well within DIY range.
The exception is a thin, inexpensive board. Spending an hour and a chunk of thickness to save a board that cost less than lunch is a judgment call, and replacing it is a perfectly reasonable answer.
The Verdict
Call: usually fixable
Fix: coarse-to-fine sanding, then oil
Time: one to two hours
7. Loosening at a Glued Seam
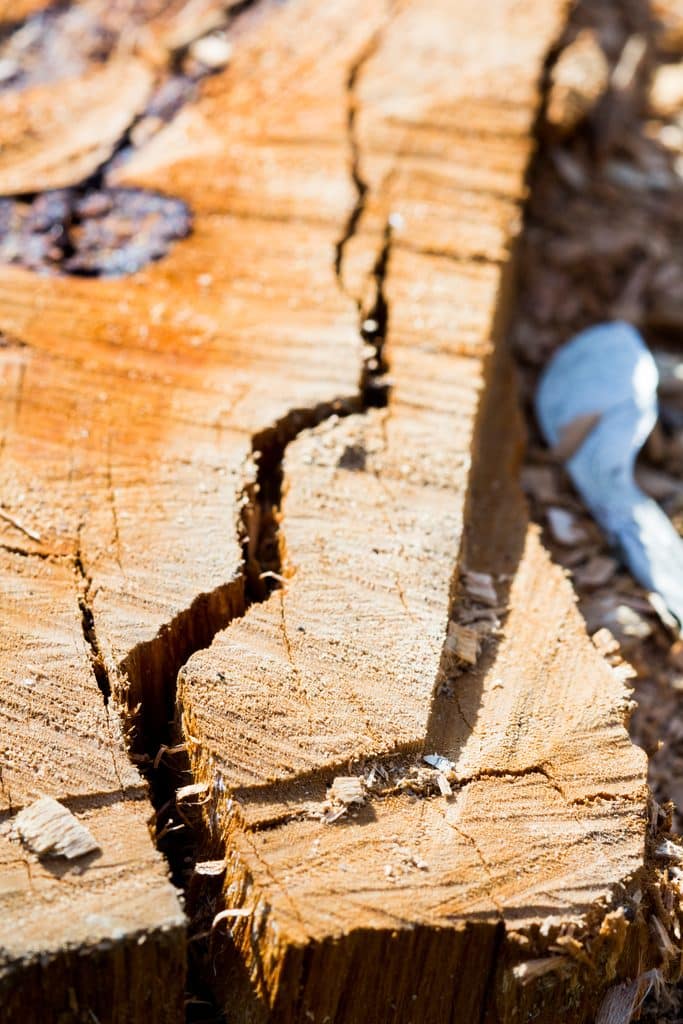
Most multi-piece boards, including edge-grain and end-grain designs, are held together by glue joints. A slight gap at one seam, caught early, can sometimes be cleaned out, reglued with a food-safe wood glue, and clamped.
It’s a more involved fix than sanding, and results vary. If several seams are separating or the board flexes at a joint, it’s typically past a reasonable home repair.
Bamboo boards are especially seam-heavy, since they’re built from many thin strips. Our side-by-side look at wood, plastic, and bamboo gets into how construction affects durability.
The Verdict
Call: depends on severity
Fix: reglue and clamp one small gap, retire if several are opening
Time: an evening, plus a day of clamping
While You're Here
13 Non-Toxic Kitchen Upgrades That Cost Less Than You Think
"Non-toxic kitchen" sounds like a phrase that comes with a big receipt. New cookware, new storage, maybe a contractor. Most of that...
6. A Board That’s Been Sanded Down Multiple Times
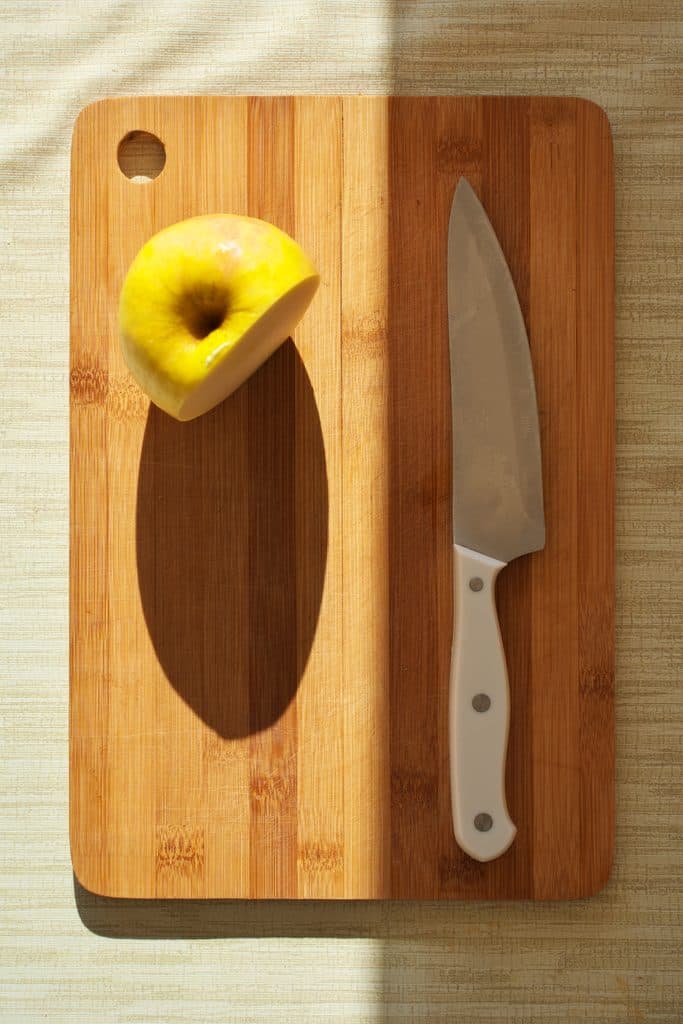
Every restoration takes a little wood with it. After enough rounds, a board that started thick and solid can end up noticeably thinner and lighter.
Thin boards flex more under pressure and tend to warp more easily, so each restoration buys less time than the one before. Once it’s visibly thinner than new or bends slightly when you lean on it, it’s had a good run.
Needing to sand often is also a hint that something in the routine is wearing it down. Our rundown of common board mistakes covers the usual suspects.
The Verdict
Call: nearing retirement
Fix: one last refresh if it’s still solid, otherwise replace
Time: varies
Myth: Any wood board can be sanded back to like-new.
Reality: Sanding fixes what’s on the surface. Everything from here down involves damage below the surface, which is where restoration stops being the answer.
5. Persistent Smell That Doesn’t Go Away After Cleaning
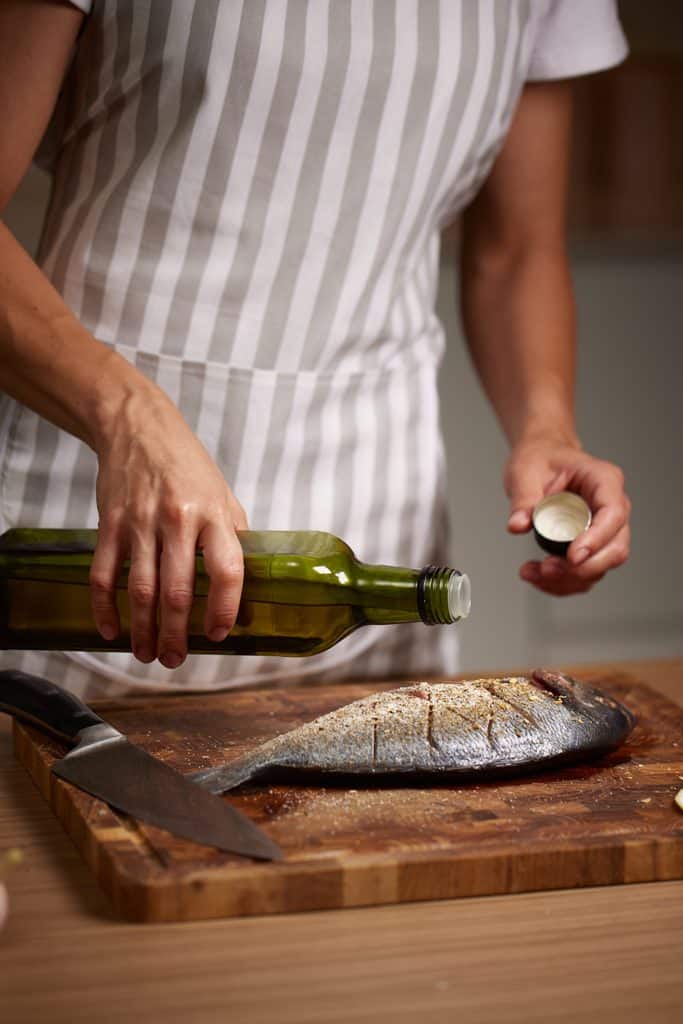
A garlic or onion smell right after prep is normal. A smell that’s still there after a thorough wash, a salt-and-lemon scrub, and a full dry is a different story.
Odors that survive all that generally mean something has worked deep into the wood, past what surface cleaning or a light sanding can reach. Musty or sour smells in particular tend to point to moisture trapped inside.

Jonathan grew up in New Jersey until his family moved to Germany, where he spent his youth in old-world butcher shops and French markets and learned that the best meals happen around a shared table. HardwoodChef started with one idea: make the board at the center of those moments.
Unlike plastic, it has nothing to shed into your food. Unlike glass or bamboo, its end grain is easy on your knives. And at nearly two inches thick, it’s sturdy enough to carve on and good-looking enough to serve straight from the board.
“Food brings people together. I wanted to make something worthy of sitting in the middle of it.”
Read Jonathan’s storyGive it one proper deep clean before deciding. If the smell comes back, our checklist of signs a board may be contaminating food covers this smell test in more depth, and retiring the board is the cautious call.
The Verdict
Call: retire it if a deep clean doesn’t work
Fix: salt, lemon, and a full dry, one attempt
Time: about 30 minutes to find out
4. Soft or Spongy Spots
Press a thumb firmly into any dark patch or the edge that usually sits near the sink. Healthy wood doesn’t give, and a spot that feels soft or slightly spongy does.
That softness generally means water damage has started breaking down the wood fibers from the inside. Sanding takes off the surface but doesn’t restore what’s underneath, so a soft spot is usually where a board’s working life ends.
The Verdict
Call: retire it
Fix: none reliable
Time: not applicable
3. Visible Mold
Fuzzy or dark spotted growth, often near cracks, seams, or an underside that sat wet, is a warning worth taking seriously.
A tiny surface spot caught early on dense hardwood can sometimes be scrubbed and sanded away. Mold that covers more than a small area, sits inside a crack, or comes back after cleaning is generally considered established deeper than sanding can reach.
When in doubt here, replace rather than restore. It’s the one sign on this list where the cautious call is almost always the right one.
Dig Deeper
The Complete Beginner’s Guide to Building a Charcuterie Board
Charcuterie boards look intimidating from the outside, like there's a secret ratio or technique everyone else learned somewhere. There isn't, really. This...
The Verdict
Call: usually retire it
Fix: only a tiny, first-time surface spot, sanded out
Time: not worth a second attempt

2. A Crack That Runs Deep and Stays Open
Small checks and hairline cracks often close back up as the board dries and gets oiled. A crack that stays open after drying, with real depth to it, is a different animal.
Deep, open cracks can hold moisture and food debris where a brush can’t reach, and they tend to widen with every wet-dry cycle. Some woodworkers fill them, but for a surface that touches food every day, that’s rarely a lasting fix.
Of everything here, this sign leaves the least room for debate. Once you can see down into it, it’s time.
The Verdict
Call: retire it
Fix: none practical for a food surface
Time: not applicable
1. It Warps and Won’t Sit Flat
This is the sign that settles the question on its own, and the main reason is your fingers more than the wood. A board that rocks on the counter shifts under the knife, and an unstable cutting surface is one of the easiest ways to slip and cut yourself.
Warping happens when wood takes on and loses moisture unevenly, usually from drying flat, soaking, or a trip through the dishwasher. It means the wood has moved at a structural level, well beyond the surface.
Readers Can't Stop Opening These
★ 21 Holiday Charcuterie Board Themes for Every Occasion
★ 10 Toxic Kitchen Habits You Didn’t Know You Had
★ 15 Charcuterie Board Ideas That’ll Steal the Show at Your Next Party
Very mild warps sometimes respond to a home fix. A common approach is laying a damp towel on the concave side, setting the board on a flat surface with light weight on it for a day or so, then drying and oiling it evenly, though results vary and it’s worth one try at most.
Anything beyond that, where the board rocks noticeably however you set it down, generally can’t be sanded flat without taking off so much wood that the board ends up too thin to be useful. A damp towel or non-slip mat underneath can steady it for a few days, but only as a stopgap.
When it’s time to shop, construction matters. End-grain boards tend to move more evenly with moisture than thin single-slab boards, and the thick acacia end-grain boards we make at HardwoodChef are built with that stability in mind. Our guide to choosing the right board covers what to look for this time around.
The Verdict
Call: retire it
Fix: one damp-towel attempt on a mild warp, then replace
Time: a day or two to find out
Restore or Replace: The Short Version
Roughly the first half of this list is fixable with sandpaper, oil, and an afternoon. The second half, which covers lingering smells, soft spots, mold, deep cracks, and warping, generally means it’s time to let the board go.
If you only remember a few things: dullness and light scratches are normal, deep grooves are a sanding job, and anything soft, moldy, cracked open, or rocking is a replacement.
Restoring? Our full oiling, cleaning, and storage guide covers the technique from sanding through the final coat.