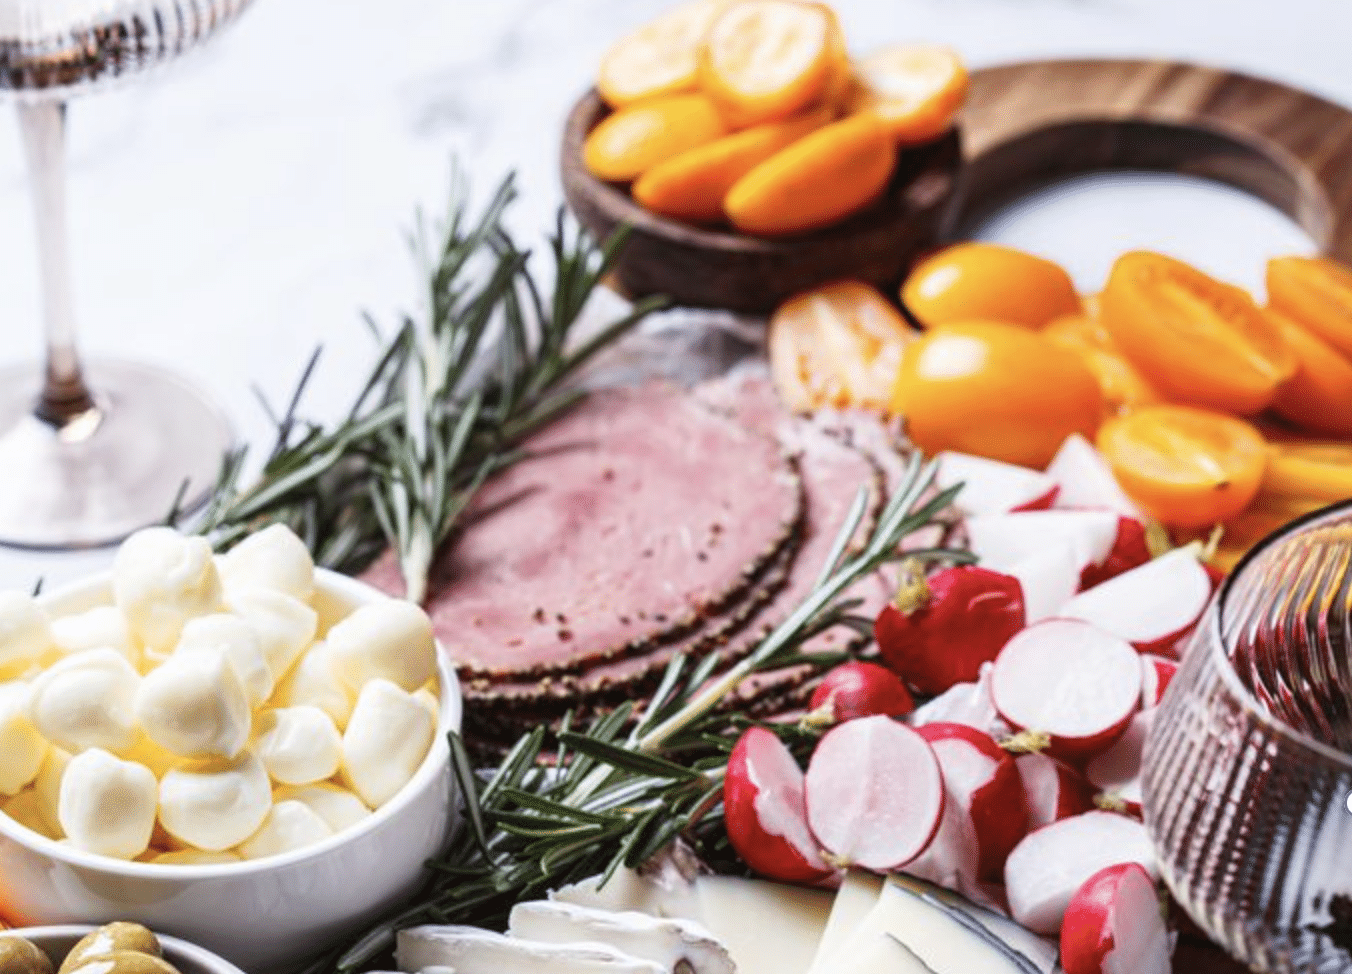
The Complete Beginner’s Guide to Building a Charcuterie Board

Charcuterie boards look intimidating from the outside, like there’s a secret ratio or technique everyone else learned somewhere. There isn’t, really.
This is the ground-up version, from picking a board to placing the last sprig of rosemary, written for someone who has never built one. Follow the steps in order the first time, and after a board or two most of it turns into instinct.
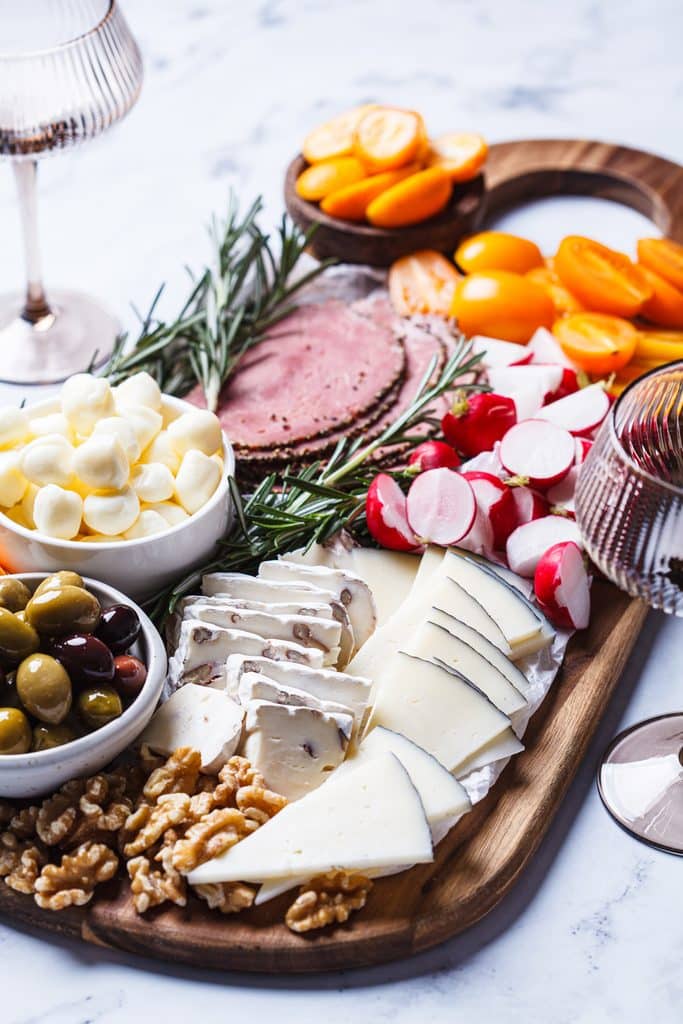
Step 1: Choose Your Board
For a first board, size matters more than material. A board that’s too small forces you to cram everything together with no breathing room, which is the most common reason first boards look messy instead of intentional.
| Group size | Rough board size |
|---|---|
| 2 to 4 people | About 12 by 16 inches |
| 4 to 8 people | About 15 by 20 inches |
| 8 to 12 people | About 18 by 24 inches, or two medium boards |
| A big crowd | Several boards, or a full grazing table |
On sizing: these are common rules of thumb rather than fixed standards. A board loaded as a meal needs more room than one set out as a snack.
Wood is the traditional choice and handles a heavy, varied spread well. If you’re not ready to buy a dedicated board, a large platter or a clean sheet pan lined with parchment works fine for a first attempt, and our guide to choosing a board covers sizing and wood type when you are.
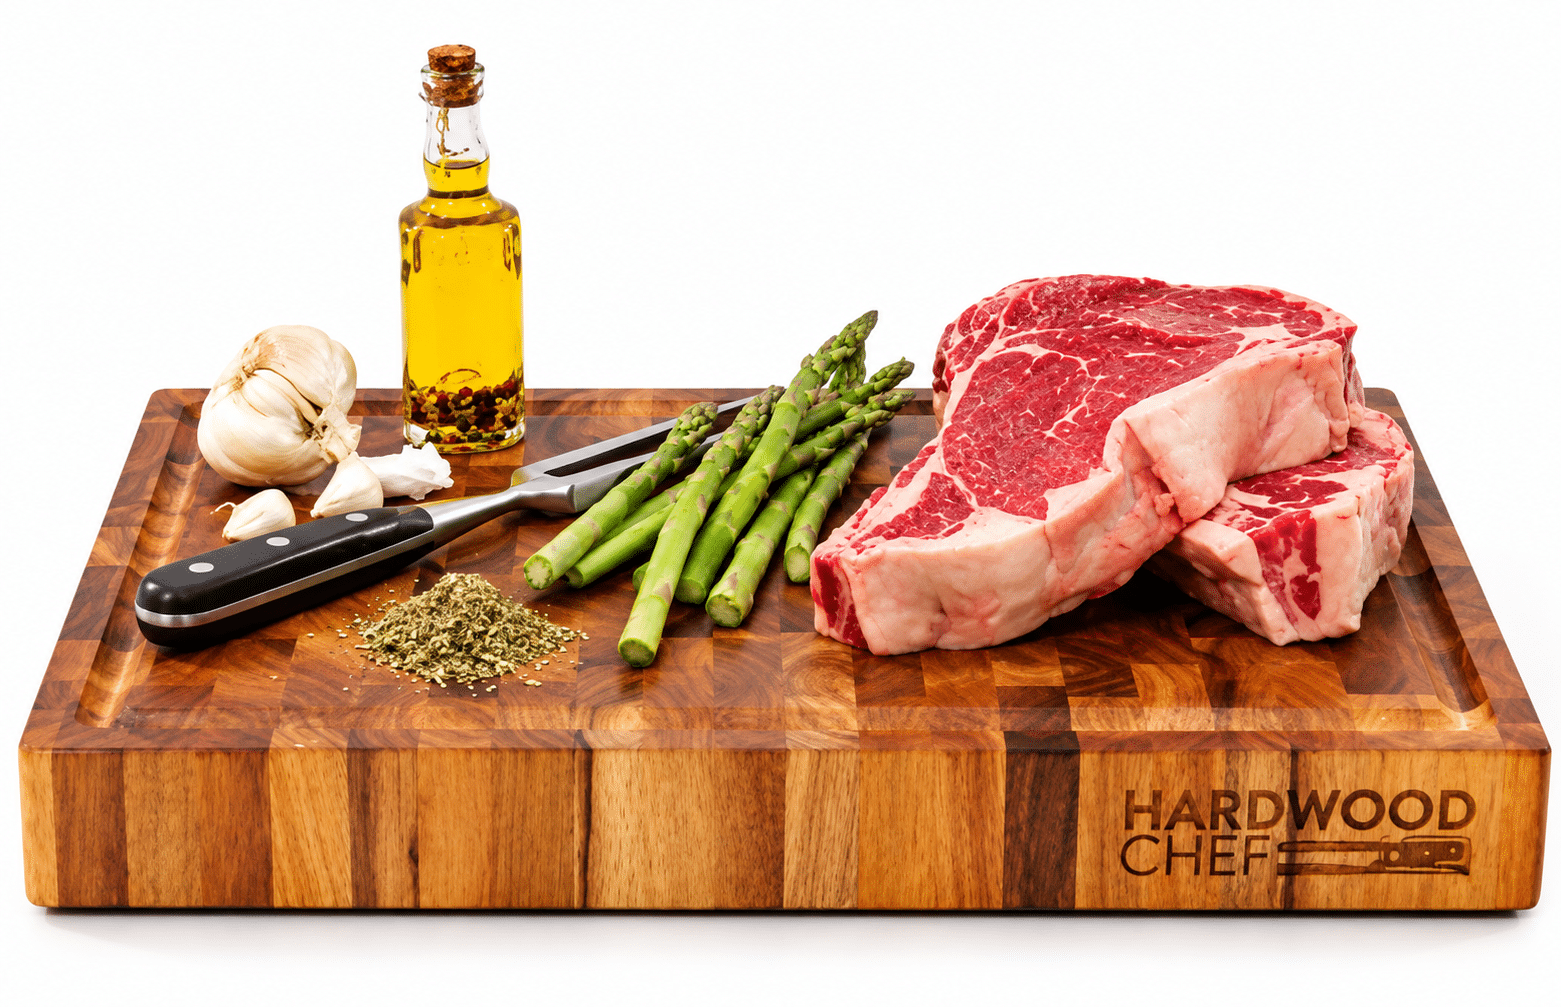
At 16 × 12 inches and nearly two inches thick, our end grain acacia board has room for a full spread of cheese, fruit, and bread, finger grips for carrying it to the table, and a juice groove for when you carve. See the board.
See the board, now $119Regularly $179 · Arrives gift-wrapped in butcher paper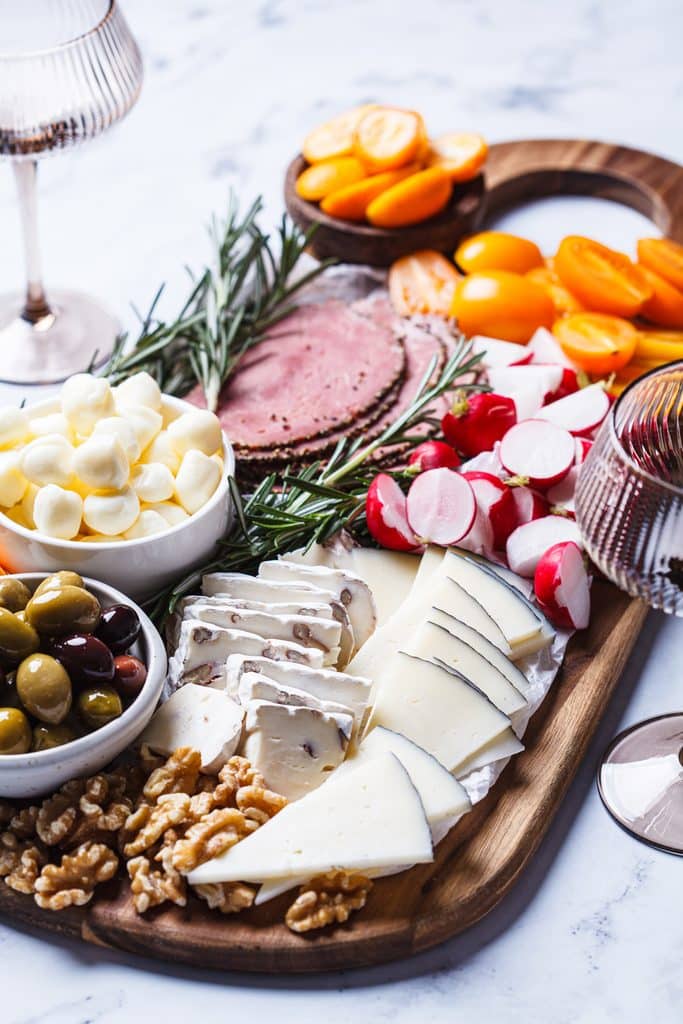
Step 2: Plan How Much Food
The most common worry is running out, and the most common outcome is buying too much. A rough per-person guide keeps it in check.
| How the board is served | Cheese and meat combined, per person | Everything else |
|---|---|---|
| Appetizer before a meal | About 2 to 4 ounces | A small handful each of crackers, fruit, and extras |
| The main event | About 5 to 7 ounces | Roughly double the crackers, fruit, and extras |
How to use these numbers: they’re common planning ranges, not exact targets. Big eaters, a long evening, or a crowd that skipped lunch all push toward the high end.
Step 3: Build Your Shopping List
A reasonable starting formula is eight to ten components: two or three cheeses, one or two cured meats, two kinds of crackers or bread, a spread, fresh fruit, dried fruit or nuts, and a couple of briny extras like olives or cornichons.
Cheese
Aim for different textures rather than three versions of the same thing. One soft, one semi-hard, and one aged cheese does more for flavor and looks than the specific cheeses you pick.
Beginner-friendly picks include brie or a soft goat cheese, a young gouda or white cheddar, and an aged cheddar or manchego. Add a blue only if you know the crowd likes it.
Meat
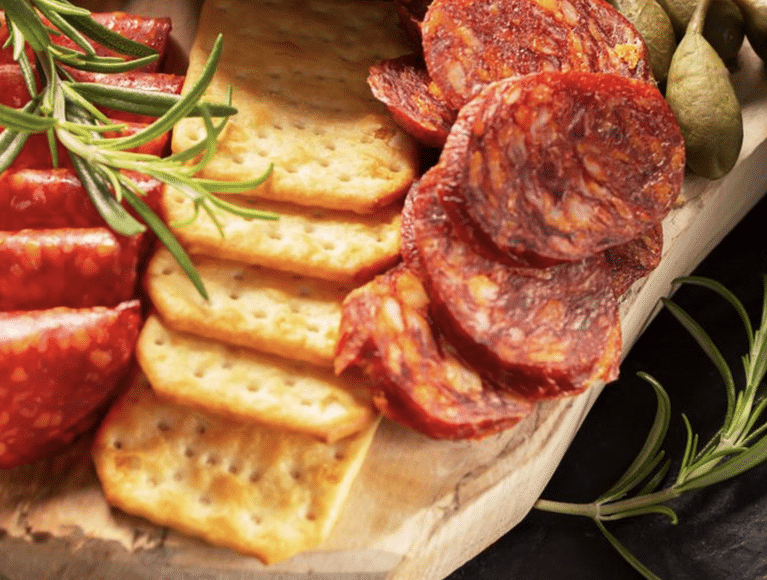
One mild option and one with more personality covers most groups. Prosciutto and a classic salami are an easy pair, and pre-sliced is perfectly fine for a first board.
Keep Reading
If this one is your kind of read:
→ How to Choose the Perfect Salad Bowl: Size, Material & Style Guide
→ 17 Super Easy Fun Halloween Treats Kids and Adults Will Actually Eat
Crackers, Bread, and Everything Else
Two shapes of cracker, or one cracker plus a sliced baguette, give people options for both soft and firm cheeses. For the rest, think in contrasts: something sweet like fig jam or honey, something fresh like grapes or apple slices, something crunchy like almonds, and something briny like olives.
Step 4: Prep Before You Build
A few minutes of prep makes the build faster and the finished board better looking.
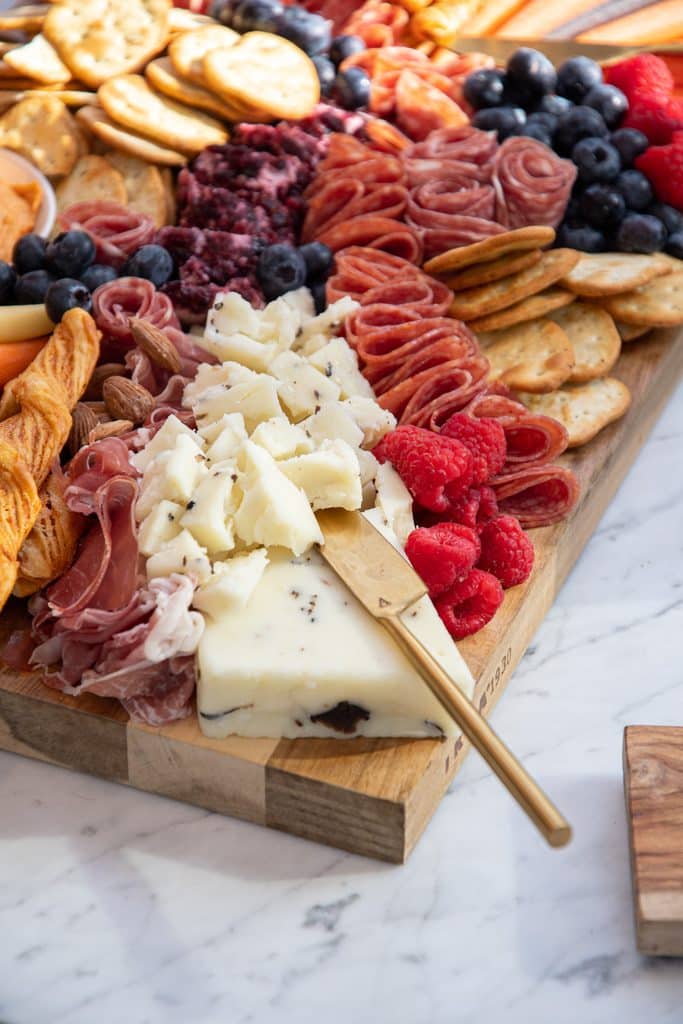
Cut cheese according to texture. Leave soft cheeses whole or cut one wedge so people can see inside, slice semi-hard cheeses thin or into cubes, and break aged cheeses into rough chunks with the tip of a knife.
Wash and dry the fruit, and slice apples or pears last, tossing them in a little lemon juice to slow browning. Spoon jams, olives, and anything wet into small bowls so nothing runs across the board.
Step 5: Place the Anchors
Start with the biggest items: the cheeses and any small bowls. Spread them across the board in a loose triangle or zigzag rather than clustering them in one corner.
These are your anchor points, and everything else gets built around them.
While You're Here
How to Tell If Your Cutting Board Is Shedding Plastic (And What to Do About It)
Plastic cutting boards don't come with a warning light. There's no single moment where one flips from fine to worn out. It...
Step 6: Add Meats and Crackers
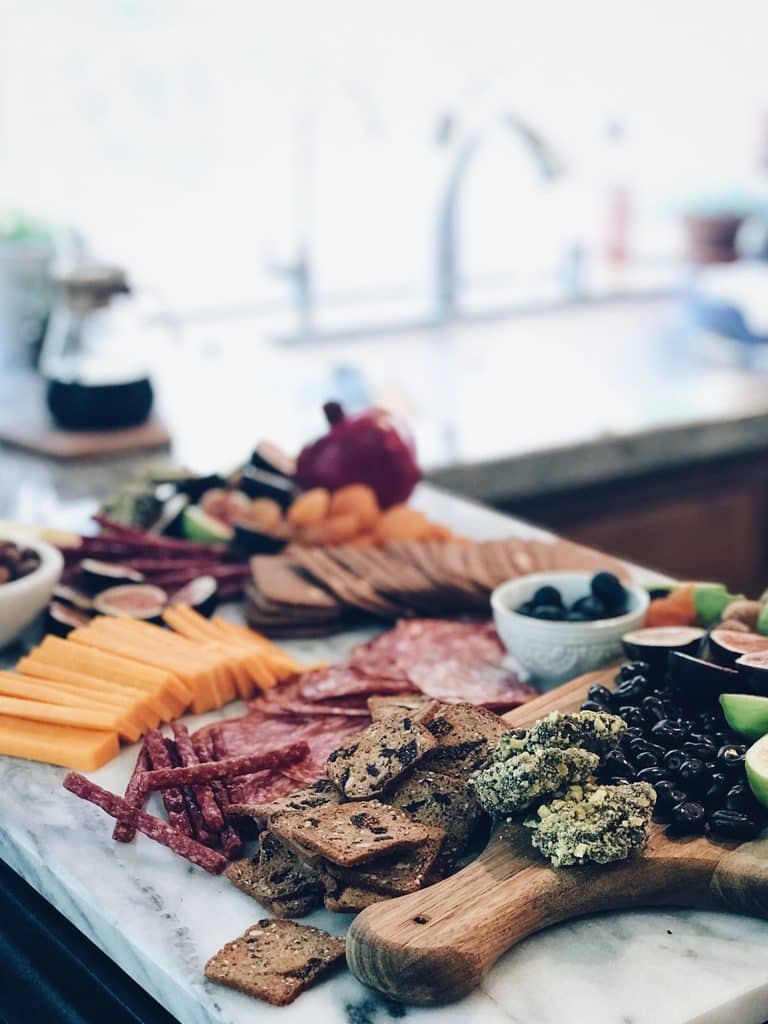
Meats come next, placed near the cheeses they pair with. Folding or rolling them adds height and texture, and it looks far more deliberate than slices laid flat.
An easy beginner move is a salami river: fold slices in half, then in half again, and line them up in a winding row between two anchors. Prosciutto works well loosely bunched into small piles.
Fan crackers in short overlapping rows beside the cheese or spread they go with, rather than piling them in one spot. Keep them away from wet items like olives and cut fruit so they stay crisp.
Step 7: Fill the Gaps
This is the step beginners skip, and it makes the biggest visual difference.
Once everything else is down, fill the leftover gaps with your smallest items: grapes, berries, nuts, olives, and small sprigs of herbs. Filling that negative space is what makes a board look generous instead of sparse.
Work in odd-numbered clusters where you can, since three grapes or five almonds tend to look more natural than pairs. Spread each color around the board instead of keeping all the red or green in one place.

Jonathan grew up in New Jersey until his family moved to Germany, where he spent his youth in old-world butcher shops and French markets and learned that the best meals happen around a shared table. HardwoodChef started with one idea: make the board at the center of those moments.
Unlike plastic, it has nothing to shed into your food. Unlike glass or bamboo, its end grain is easy on your knives. And at nearly two inches thick, it’s sturdy enough to carve on and good-looking enough to serve straight from the board.
“Food brings people together. I wanted to make something worthy of sitting in the middle of it.”
Read Jonathan’s story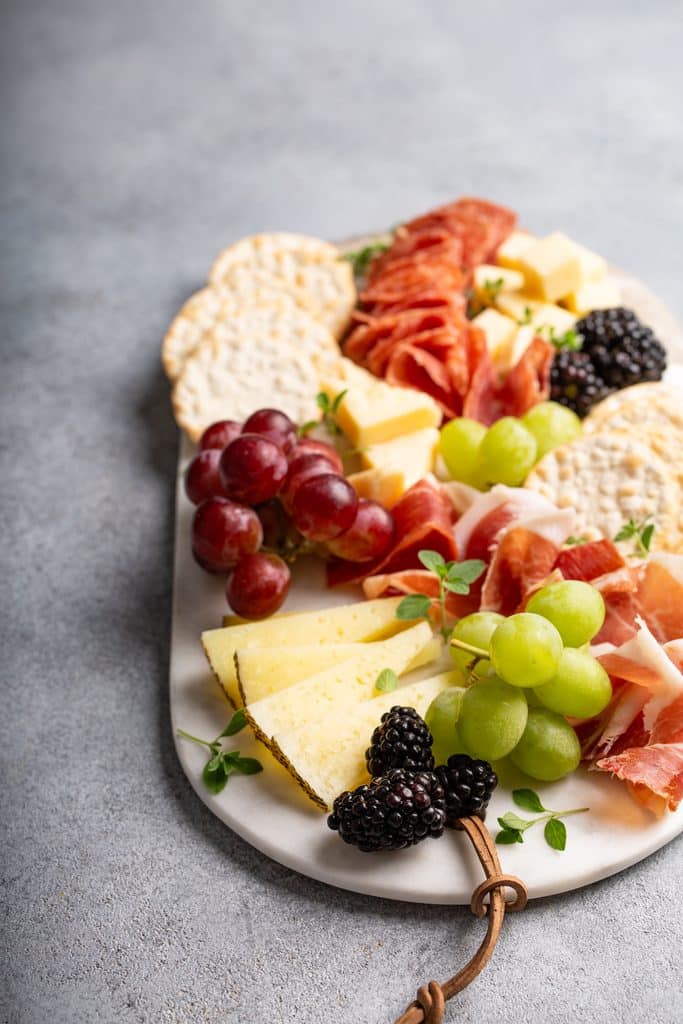
What to Buy vs. What to Skip for a First Attempt
Worth buying: a couple of small ceramic bowls for spreads and olives, decent crackers rather than the cheapest box, and, if you’ll do this again, a proper board sized for the group you usually host.
Skip for now: specialty cheese knives, labeling kits, and elaborate garnish sets. None of them meaningfully change a first board, and they’re easy to add once you know what you’ll use.
From the HardwoodChef Shop: If you’re buying a dedicated board, sizing up slightly gives you the room this layout depends on. Our wide acacia end-grain boards work as a serving board for parties and an everyday cutting board the rest of the week.
Timing and Food Safety
A board looks best when it’s built close to serving time, and a little planning keeps the day relaxed.
| When | What to do |
|---|---|
| The day before | Shop, wash fruit, and portion jams and olives into small covered bowls |
| A few hours before | Slice the semi-hard cheeses and keep everything chilled |
| About 30 to 60 minutes before | Take the cheese out so it loses its fridge chill, then build the board |
| Right before serving | Add cut apples or pears, crackers, and herbs |
General food-safety guidance is to keep perishable foods at room temperature for no more than about two hours, or about one hour when it’s very hot. For a long party, set out smaller portions and refill from the fridge instead of putting everything out at once.
If you build ahead, cover the board loosely with a beeswax wrap or a clean, slightly damp kitchen towel until guests arrive. Our guide to plastic-free kitchen swaps covers a few more alternatives to cling wrap.
Dig Deeper
The Complete Guide to Microplastics in the Kitchen: What the Research Actually Shows
Microplastics show up in plenty of headlines and not much context. This guide is the context. It isn't here to tell you...
Five Common Beginner Mistakes
A board that’s too small. Cramming leaves no room for layering, and the board ends up looking cluttered.
Everything lying flat. Folded meats, stacked crackers, and small bowls add the height that makes a board look abundant.
Cheese straight from the fridge. Cold cheese tastes muted, so give it 30 to 60 minutes out before guests dig in.
Crackers too close to wet food. Parked next to olives or juicy fruit, they go soft within the hour.
Readers Can't Stop Opening These
★ 21 Holiday Charcuterie Board Themes for Every Occasion
★ 31 Everyday Items Leaking Microplastics in Your Home Right Now
No mild options. A board of only funky cheese and spicy salami leaves cautious eaters with nothing, so keep at least one crowd-pleaser.
Cleanup
Once the party winds down, wash a wood board with warm, soapy water, rinse, and towel it dry, then stand it on edge to finish drying. Skip the long soak in the sink, which is one of the more common habits that wear a wood board out early.
A light coat of oil after a busy stretch of entertaining keeps the surface from drying out, and our care guide covers the full routine.
Where to Go From Here
Once the ratio and layout feel natural, themed boards start to be worth the extra planning. Our roundup of board ideas for every kind of crowd is a good next stop, and our holiday charcuterie themes cover occasion-specific versions.
For now, get the fundamentals comfortable. Everything more advanced is a variation on the same ratio and layout.